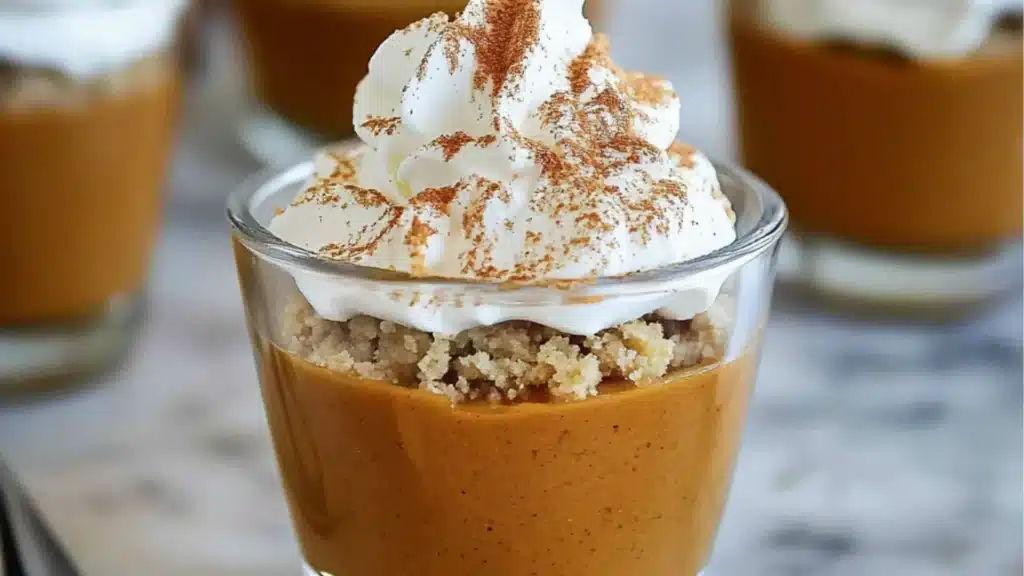
If you’re looking for a fun, stress-free Thanksgiving dessert that doubles as a creative activity for kids, this Easy Pumpkin Pie in a Cup is a total win. It’s creamy, delicious, and requires no baking — just a few simple ingredients, a whisk, and a few small hands ready to help!
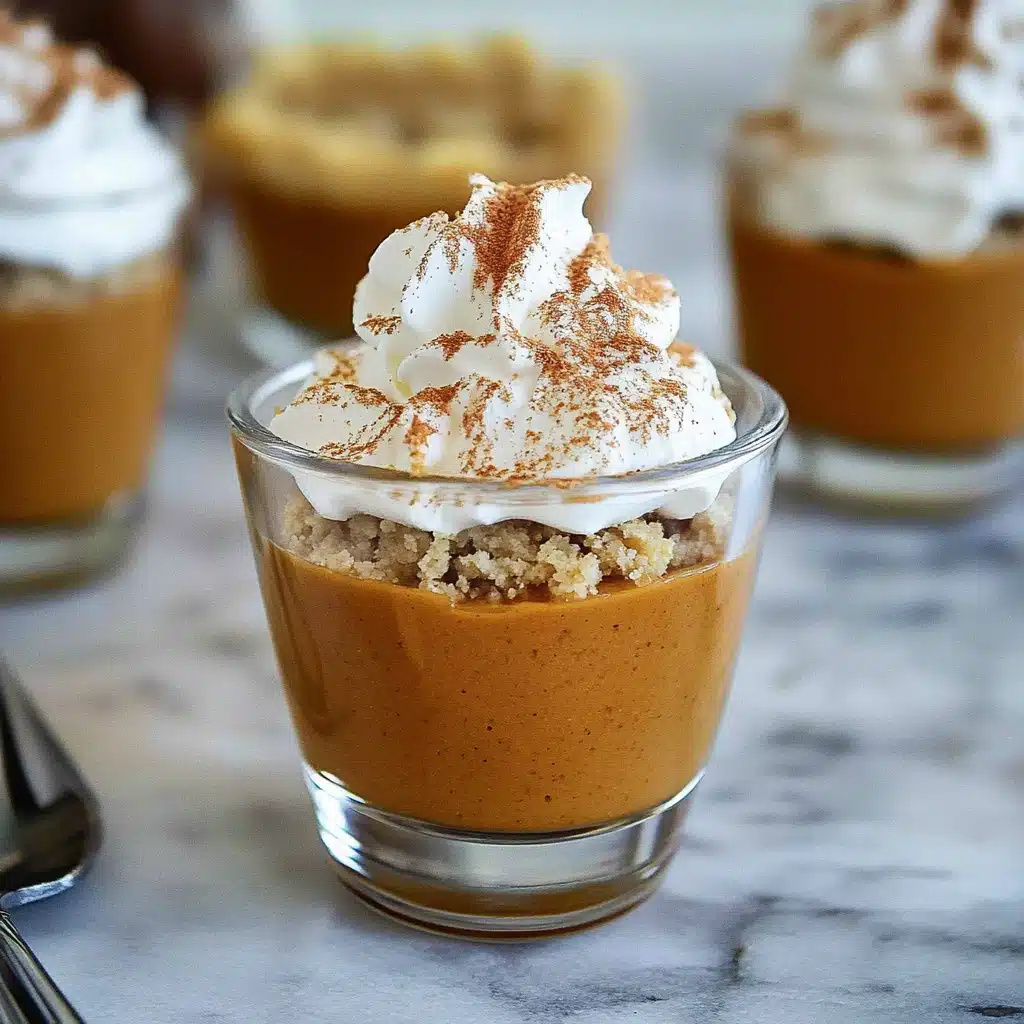
This no-bake mini pumpkin pie is perfect for classrooms, family gatherings, or cozy fall days when you want to create something festive without turning on the oven. Each cup is layered with graham cracker crumbs, velvety pumpkin pudding, and fluffy whipped cream — all the flavors of classic pumpkin pie in an adorable, handheld form.
If your family enjoys simple Thanksgiving food activities for preschoolers, you’ll also love similar fall treats like Pumpkin Cheesecake Cookies or our cute Mini Pumpkin Bread with Cinnamon Swirl.
Table of Contents
Why You’ll Love This Mini Pumpkin Pie in a Cup Recipe
This recipe combines the best of two worlds — it’s both a dessert and a fun hands-on project. Whether you’re hosting a class Thanksgiving party or looking for a kids cooking recipe that feels special, these pumpkin pie cups make it easy to get everyone involved.
Why you’ll love it:
- No baking or stovetop cooking required.
- Great for preschoolers, school parties, or family gatherings.
- Simple ingredients that come together in minutes.
- Mess-free individual servings that look adorable.
Just like our crowd-pleasing Pumpkin Cheesecake Truffles, this recipe is a quick, make-ahead option that tastes like fall in every bite.
What Is a Pumpkin Pie in a Cup?
A Pumpkin Pie in a Cup is a no-bake dessert that transforms the traditional pie into a portable, easy-to-assemble treat. Each serving includes layers of crushed graham crackers (or cookies), creamy pumpkin pudding, and whipped topping — no crust rolling, no oven time, and no stress.
It’s perfect for preschool recipes, family gatherings, or any mini pumpkin Thanksgiving craft you’d like to incorporate into your holiday season. Think of it as a mix between a Pumpkin Pie Pudding Cup and a festive edible art project!
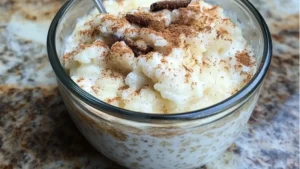
If you enjoy recipes like this, you might also love our cozy Slow Cooker Pumpkin Pie Oatmeal — another simple, family-friendly fall breakfast treat.
Ingredients You’ll Need
Here’s what you’ll need to make these creamy, no-bake pumpkin dessert cups:
- 1 package (3.4 oz) instant vanilla pudding mix
- 1 cup cold milk
- 1 cup canned pumpkin purée
- 1 teaspoon pumpkin pie spice (or a blend of cinnamon, nutmeg, and ginger)
- 1 tablespoon brown sugar (optional for extra sweetness)
- 1 cup whipped topping (plus extra for garnish)
- 1 cup crushed graham crackers or gingersnap cookies
- Small clear plastic cups for serving
These ingredients create about 6 mini cups, but the recipe can easily be doubled for parties or classroom activities.
Equipment & Supplies for Kids Cooking Recipes
One of the best things about this recipe is how accessible it is. You only need a few tools, most of which you already have:
- Mixing bowl
- Whisk or spoon
- Measuring cups and spoons
- Zip-top bag or food processor for crushing graham crackers
- Small plastic or paper cups (clear cups show off the pretty layers)
- Child-safe spatulas or spoons
Kids will love the layering part — it’s like creating their own edible art! For more fun, try pairing this recipe with something equally interactive like our Rice Krispie Treat Ghosts for a seasonal baking session full of smiles.
Step-by-Step Instructions: How to Make Easy Pumpkin Pie in a Cup
This is one of the simplest Thanksgiving recipes you’ll ever make — even preschoolers can help!
Step 1: Mix the Pumpkin Pudding Layer
In a large mixing bowl, whisk together the pudding mix and milk until it thickens slightly. Add pumpkin purée, pumpkin pie spice, and brown sugar (if using). Continue whisking until smooth and creamy. Fold in 1 cup of whipped topping to make the mixture light and fluffy.
Step 2: Crush the Graham Crackers
Place graham crackers or gingersnap cookies in a zip-top bag and crush them using a rolling pin or your hands. Kids love this part — it’s messy and fun!
Step 3: Layer the Cups
Spoon about 1 tablespoon of crushed graham crackers into the bottom of each cup. Add 2–3 tablespoons of the pumpkin pudding mixture on top. Repeat layers if desired for extra visual appeal.
Step 4: Add Whipped Topping
Top each cup with a generous spoonful of whipped cream. For a little extra flair, sprinkle with cinnamon or add a small candy pumpkin.
Step 5: Chill Before Serving
Place cups in the refrigerator for at least 30 minutes to allow the flavors to set. Then serve and enjoy!
This is a perfect no-fuss dessert to serve alongside holiday favorites like our Pumpkin Twists or Cinnamon Roll Breakfast Bake.
Tips for Making No-Bake Mini Pumpkin Pie with Kids
- Use clear cups so kids can see their layers.
- Prep ingredients in advance — pre-measure and separate everything into bowls.
- Encourage creativity — let kids decorate with toppings like mini marshmallows, sprinkles, or cookie crumbs.
- Keep cleanup simple — use disposable cups and spoons for easy disposal.
- Add fun labels — name each cup (“Emma’s Pie,” “Liam’s Pumpkin Cup,” etc.).
For even more kid-approved cooking projects, try our Mini Pancake Cereal — another easy recipe that turns breakfast into playtime!
Common Mistakes to Avoid
- Overmixing pudding can make it too thin. Stop whisking once it’s smooth.
- Too much pumpkin can overpower the sweetness — measure carefully.
- Soggy crumbs can happen if the cups sit too long. Add the topping just before serving for the best texture.
- Skipping the chill time — a short time in the fridge helps the flavors blend perfectly.
Fun Thanksgiving Food Activities for Preschool & Families
This Easy Pumpkin Pie in a Cup isn’t just a dessert — it’s an easy food activity that keeps little hands busy during the holidays. Preschoolers can crush crackers, mix pudding, and assemble their cups like tiny chefs.
For classroom fun, turn it into a Mini Pumpkin Thanksgiving Craft by adding labels, stickers, and themed decorations. Kids can even draw pumpkins on their cups before filling them — a creative pie art project for kids that ends in a delicious reward!
And if you’re planning a full Thanksgiving menu, complement this fun dessert with other seasonal treats like our Pumpkin Oatmeal Cookies or Apple Fritter Donuts.
Recipe Variations & Flavor Twists
- Chocolate Pumpkin Cups: Add a layer of chocolate pudding for a decadent twist.
- Oreo Pumpkin Cups: Swap graham crackers for crushed Oreos.
- Caramel Drizzle: Add a swirl of caramel sauce between layers.
- Mini Pie Crust Cups: Use mini pie crust shells instead of cups for a more pie-like presentation.
- Healthy Swap: Use Greek yogurt instead of whipped topping for a lighter version.
Presentation & Serving Ideas
Serve these cute dessert cups on a tray with fall decorations — small leaves, tiny pumpkins, or gold sprinkles for a Thanksgiving vibe. You can even make them part of your holiday dessert bar alongside Pumpkin Cheesecake Truffles and Chocolate Chip Pumpkin Pancakes.
These mini pies also make great take-home treats after a classroom Thanksgiving celebration — just add lids or plastic wrap and a festive label.
Storage Tips
Refrigerate your pumpkin pie cups until ready to serve. They’ll stay fresh for up to 3 days in the fridge. For best texture, store them uncovered for the first 30 minutes (to avoid soggy crumbs), then cover with plastic wrap.
Avoid freezing, as pudding-based desserts can separate after thawing.
Educational & Sensory Benefits for Preschoolers
Cooking activities like this are more than just fun — they help build key developmental skills:
- Fine motor control: Scooping, layering, and sprinkling encourage coordination.
- Following directions: Step-by-step instructions teach sequencing and patience.
- Sensory play: Kids explore textures — smooth pudding, crunchy crumbs, and fluffy cream.
- Math and measurement: Measuring ingredients helps introduce numbers and proportions.
Pair this with a storytime session about pumpkins or a Thanksgiving food craft for a complete sensory learning experience.
Easy Pumpkin Pie in a Cup FAQs
1. Can I make these ahead of time?
Yes! Assemble them a few hours in advance and chill until serving. Add whipped topping just before eating.
2. Can I use pre-made pumpkin pie filling?
Yes, but skip the added sugar and spices since it’s already sweetened.
3. How long should they chill before serving?
At least 30 minutes to allow the pudding to set properly.
4. Can I use dairy-free alternatives?
Absolutely! Use almond or oat milk and dairy-free whipped topping.
5. Are these safe for preschool classrooms?
Yes — just ensure there are no allergies to milk or gluten in the group.
Expert Notes & Creative Tips for Preschool Recipes
- Keep ingredients in squeeze bottles for easy dispensing and less mess.
- Add small candy pumpkins or leaf sprinkles for a decorative touch.
- Use pumpkin spice whipped cream for extra fall flavor.
- Let kids create their own “signature” pumpkin pie by choosing toppings.
Conclusion: A Sweet Thanksgiving Memory in Every Cup
This Easy Pumpkin Pie in a Cup is more than just a dessert — it’s a delightful fall memory in the making. It’s quick, fun, and gives everyone a chance to join in the holiday spirit, from toddlers to grandparents.
Perfect for classrooms, potlucks, or a family dessert night, these no-bake mini pumpkin pies deliver all the flavors of fall with none of the fuss. So grab your cups, your pudding mix, and your favorite little helpers — and start creating edible Thanksgiving fun today!
For more simple and family-friendly treats, check out Pumpkin Fluff Dip or Mini Pumpkin Bread with Cinnamon Swirl. And don’t forget to share this recipe and subscribe to Lyndy’s Kitchen for more fun holiday recipes and kids cooking activities you’ll love.
Print
Easy Pumpkin Pie in a Cup: A Fun No-Bake Thanksgiving Treat for Kids
- Total Time: 15 minutes plus chilling time
- Yield: 8 mini cups 1x
Description
Easy Pumpkin Pie in a Cup is a no-bake, kid-friendly Thanksgiving dessert that combines creamy pumpkin pudding, buttery graham cracker crumbs, and fluffy whipped topping. Perfect for classrooms, family gatherings, or preschool cooking activities, this fun treat lets kids layer, mix, and decorate their own mini pumpkin pies — no oven required!
Ingredients
- For the Pumpkin Layer:
- 1 (15-ounce) can pumpkin puree (not pumpkin pie filling)
- 1 (3.4-ounce) box instant vanilla pudding mix
- 1 1/2 cups cold milk
- 1 teaspoon pumpkin pie spice
- 1 teaspoon cinnamon
- 1 teaspoon pure vanilla extract
- 2 tablespoons brown sugar (optional for sweetness)
- For the Crust Layer:
- 1 1/2 cups graham cracker crumbs
- 3 tablespoons melted butter
- 1 tablespoon granulated sugar
- For the Topping:
- 2 cups whipped topping (Cool Whip or homemade whipped cream)
- Dash of cinnamon or crushed graham crackers for garnish
Instructions
- Prepare the Crust: Mix graham cracker crumbs, melted butter, and sugar in a bowl until crumbly. Spoon 2 tablespoons into each cup and press lightly to form a crust layer.
- Make the Pumpkin Mixture: In a separate bowl, whisk together pudding mix and milk until smooth. Add pumpkin puree, spices, vanilla, and brown sugar. Mix until creamy.
- Layer the Cups: Spoon or pipe pumpkin mixture on top of the crust layer. Smooth with a spatula for neat layers.
- Add the Whipped Topping: Top each cup with whipped cream or Cool Whip. Sprinkle with cinnamon or crushed graham crackers.
- Chill: Refrigerate for at least 1 hour before serving to allow flavors to blend and texture to firm slightly.
Notes
- Use instant pudding, not cook-and-serve, to keep it no-bake.
- Chill the cups before serving for the best creamy texture.
- Kids can safely help crush graham crackers, layer fillings, and decorate cups.
- For a craft twist, decorate cups like pumpkins with orange paper and green stems.
- To make ahead, assemble the pumpkin and crust layers, then add whipped topping just before serving.
- Prep Time: 15 minutes
- Cook Time: 0 minutes
- Category: Dessert
- Method: No-Bake
- Cuisine: American
Nutrition
- Serving Size: 1 cup
- Calories: 210
- Sugar: 18g
- Sodium: 140mg
- Fat: 9g
- Saturated Fat: 5g
- Unsaturated Fat: 3g
- Trans Fat: 0g
- Carbohydrates: 28g
- Fiber: 2g
- Protein: 3g
- Cholesterol: 15mg
Keywords: Pumpkin Pie in a Cup, No Bake Mini Pumpkin Pies, Pumpkin Pie Pudding Cups, Thanksgiving Food Activities Preschool, Kids Cooking Recipes Thanksgiving, Mini Pumpkin Desserts, Pumpkin Pie Cups, Fall No Bake Desserts, Thanksgiving Crafts for Kids, Pumpkin Recipes for Kids