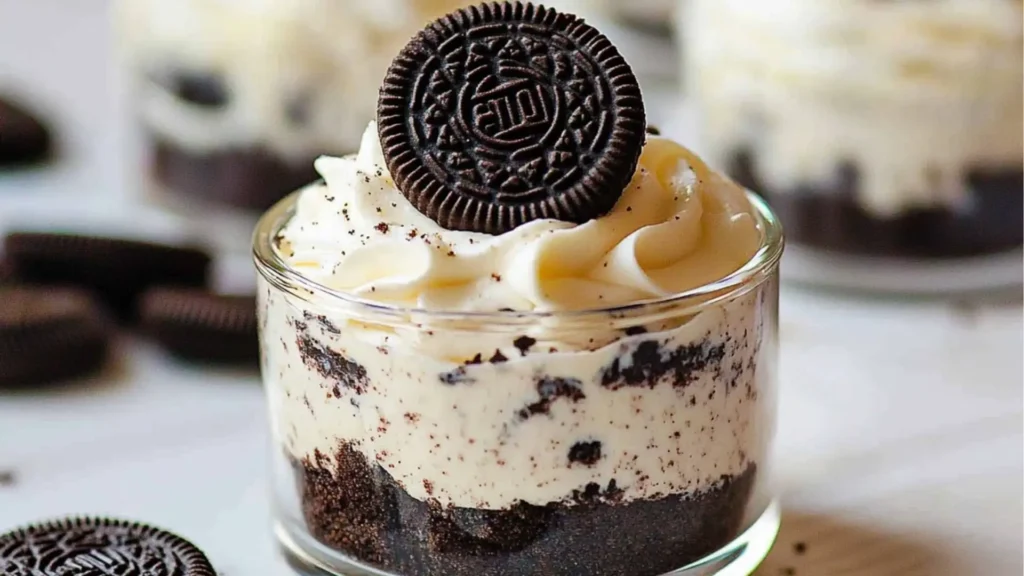
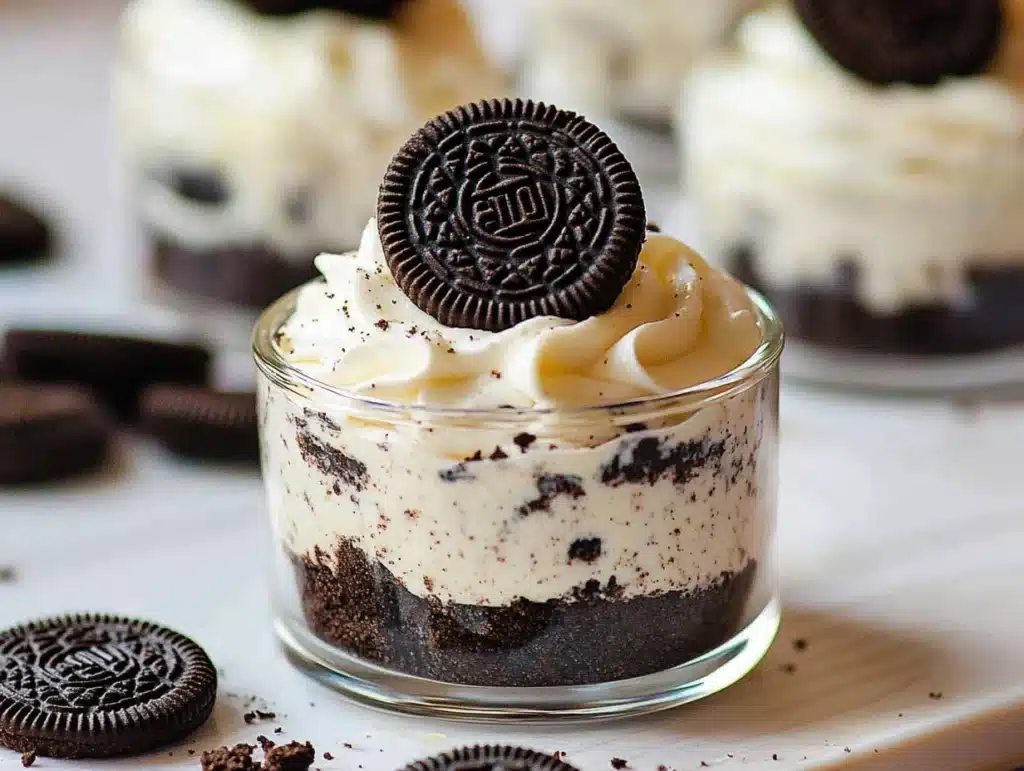
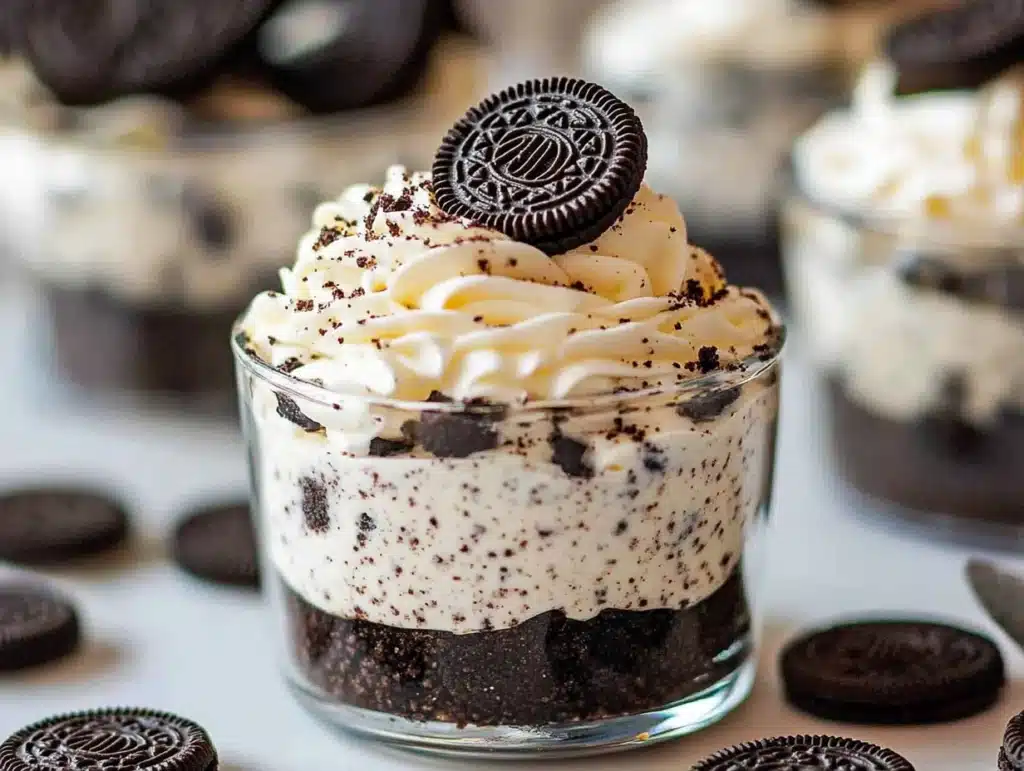
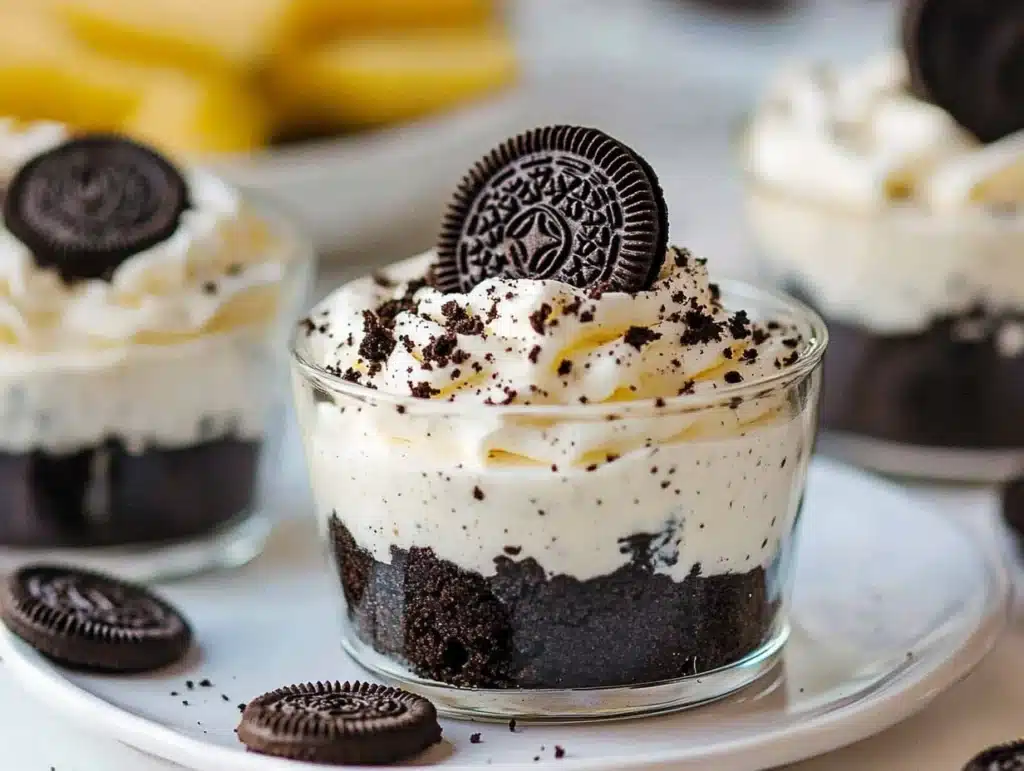
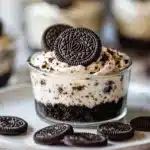
If you’re craving a quick, crowd-pleasing dessert that’s full of creamy richness and Oreo cookie goodness, these Oreo No-Bake Cheesecake Cups are the answer. Perfect for when you need an easy dessert that feels fancy but takes minimal effort, these little treats bring together all the decadence of a classic cheesecake without ever touching the oven.
With a smooth, velvety cream cheese filling and a crunchy cookie base, these single-serve cups are ideal for holidays, birthdays, or casual weeknight cravings. They’re incredibly versatile, great for make-ahead prep, and always a hit with kids and adults alike. And the best part? No baking, no stress, and no need for a springform pan.
Whether you’re building a dessert table, planning a picnic, or just treating yourself, these no-bake Oreo cheesecakes check every box.
Table of Contents
Why You’ll Love These No-Bake Cheesecake Cups
There are countless reasons these Oreo cheesecake cups should be your go-to dessert. Here are just a few:
No oven required – ideal for summer or busy kitchens
Made in individual servings – perfect for parties or meal prep
Oreo lovers’ dream – packed with crushed cookies in every layer
Quick to make – ready in under 30 minutes plus chill time
Can be made ahead – perfect for entertaining
Customizable with endless variations
These cheesecake cups combine speed and indulgence in the best possible way. They’re creamy, crunchy, sweet, and totally addictive.
What Are No-Bake Cheesecake Cups? Dessert in a Flash
No-bake cheesecake cups are a simplified version of classic cheesecake. Rather than baking a large cake, you prepare a creamy filling and layer it into individual serving cups with crushed cookies or graham crackers as the base. The mixture sets in the fridge instead of the oven, saving time and effort.
In this recipe, Oreos take center stage—blended into the crust and folded into the fluffy cheesecake filling. Each bite delivers the perfect mix of tangy cream cheese, light whipped cream, and that iconic cookies-and-cream crunch.
They’re ideal for when you want that cheesecake flavor fast—with zero fuss.
Ingredients for Oreo No-Bake Cheesecake Cups
Here’s everything you’ll need to make these luscious little treats:
For the crust and layers
15 Oreo cookies, crushed (use more for extra layers or topping)
3 tablespoons melted butter
For the cheesecake filling
8 oz (225g) cream cheese, softened
¼ cup powdered sugar
1 teaspoon vanilla extract
1 cup heavy whipping cream
6–8 additional Oreos, chopped or crushed
Optional toppings
Whipped cream
Crushed Oreos
Mini chocolate chips
Chocolate drizzle or ganache
These ingredients are simple, pantry-friendly, and easy to find at any grocery store.
Kitchen Tools You’ll Need to Make No-Bake Oreo Cheesecakes
You won’t need anything complicated for this recipe. Here’s a quick list:
Electric mixer or stand mixer
Mixing bowls
Measuring cups and spoons
Spatula or spoon
Food processor or rolling pin (to crush cookies)
Serving cups or jars (mason jars, ramekins, or dessert cups)
Want to get fancy? Use clear glass cups for visual layers that wow.
Step-by-Step Instructions: How to Make Oreo No-Bake Cheesecake Cups
Step 1 – Make the crust
Crush 15 Oreo cookies in a food processor or in a zip-top bag with a rolling pin until fine crumbs form. Mix with melted butter. Spoon about 1–2 tablespoons of the mixture into the bottom of each serving cup and press gently. Set aside.
Step 2 – Prepare the whipped cream
In a chilled bowl, whip the heavy cream until soft peaks form. Add a touch of vanilla extract and continue whipping to stiff peaks. Set aside.
Step 3 – Make the cheesecake filling
In a separate bowl, beat the softened cream cheese with powdered sugar and vanilla extract until smooth and fluffy. Gently fold in the whipped cream until fully combined. Fold in crushed or chopped Oreos.
Step 4 – Assemble the cups
Layer the cheesecake mixture over the Oreo crust in your cups. You can alternate layers with more crushed cookies if desired. Smooth the tops with a spoon or pipe the mixture using a piping bag for a neater finish.
Step 5 – Chill and serve
Refrigerate the cups for at least 2 hours to allow the filling to set. Just before serving, top with whipped cream, Oreo crumbs, or chocolate drizzle.
Now you have a dessert that looks impressive and tastes even better—with minimal work.
Tips for the Creamiest Cheesecake Filling
Use room temperature cream cheese for the smoothest texture
Chill your mixing bowl and beaters before whipping the cream
Don’t overmix the filling once the whipped cream is added—fold gently
Adjust sweetness by adding more or less powdered sugar
For extra firmness, chill overnight or add a tablespoon of sour cream for tang
These tips help ensure your Oreo no-bake cheesecake cups are light, fluffy, and totally decadent.
How to Layer and Assemble Like a Pro
For a professional, Instagram-worthy look, try these tips:
Use a piping bag with a round or star tip for clean layers
Press down crust firmly using a small spoon or tamper
Add a middle layer of crushed cookies for extra texture
Finish with garnishes like whipped cream, cookie halves, or chocolate shavings
Use glass dessert cups so the beautiful layers show through
Presentation matters—especially when serving at parties or gatherings.
Delicious Variations and Flavor Swaps
These cheesecake cups are super versatile. Try one of these variations:
Mint Oreo version – add peppermint extract and use Mint Oreos
Peanut butter Oreo – swirl in a spoonful of peanut butter to the filling
Strawberry swirl – layer with strawberry jam or fresh berries
Mocha flavor – add espresso powder or coffee extract to the cheesecake base
Nutella twist – swirl in Nutella and top with hazelnuts
Golden Oreo cheesecake – use vanilla Oreos for a lighter flavor
The flavor combinations are endless—this recipe is a base for creativity.
Serving Suggestions: When and How to Serve These Cups
Oreo cheesecake cups are perfect for:
Birthday parties
Holiday dessert tables
Valentine’s Day treats
Mother’s Day brunch
Baby showers or bridal showers
Weeknight sweet cravings
Make-ahead dinner party desserts
Serve chilled with a spoon and watch the compliments roll in.
Storage Tips: Keeping Your Cheesecake Cups Fresh
Store prepared cheesecake cups in the refrigerator, covered, for up to 4 days
Avoid adding whipped cream or toppings until just before serving
Do not freeze fully assembled cups, as texture may change
You can freeze just the cheesecake filling for up to 1 month and thaw overnight in the fridge
These make great make-ahead treats for parties, gifts, or last-minute cravings.
Make-Ahead Tips for Parties, Holidays, and Gifting
Make the filling up to 2 days in advance and store in an airtight container
Crust can be prepared ahead and stored at room temperature
Assemble cups the night before serving and garnish right before presenting
For gifting, layer in mason jars with tight-fitting lids and a cute ribbon
This dessert’s portability and prep flexibility make it ideal for events of all kinds.
Common Mistakes to Avoid When Making No-Bake Cheesecake
Don’t skip the chill time—your cups need at least 2 hours to set
Avoid over-whipping the cream—it can become grainy
Don’t use low-fat cream cheese—it won’t hold up as well
Avoid watery whipped topping substitutes—they don’t provide the same texture
Don’t assemble too early with toppings—they can get soggy or melt
Follow the steps closely for cheesecake cups that are as beautiful as they are tasty.
FAQ: Oreo No-Bake Cheesecake Cups
Can I use store-bought whipped topping instead of heavy cream?
Yes, you can use stabilized whipped topping like Cool Whip, though homemade whipped cream gives better texture and flavor.
Can I make these ahead of time?
Absolutely. Assemble up to 24 hours in advance. Add toppings just before serving.
How long do they last in the fridge?
They’ll stay fresh for 3 to 4 days when stored properly.
Do I have to use Oreo cookies?
No! You can use any sandwich cookie you love—Golden Oreos, chocolate chip cookies, or even graham crackers.
Can I make this into a full pie instead of cups?
Yes, press the crust into a pie dish and fill with the cheesecake mixture. Chill as usual, then slice and serve.
Final Thoughts: A No-Bake Dessert You’ll Make Again and Again
These Oreo No-Bake Cheesecake Cups are the perfect balance of rich, creamy cheesecake and classic cookie crunch. They’re easy to make, no-bake by design, and incredibly satisfying for Oreo fans and dessert lovers alike.
Whether you’re planning a celebration or just indulging your sweet tooth, these mini cheesecake cups are guaranteed to deliver big flavor with little effort. Customize them, prep them ahead, and enjoy a dessert that’s as fun to make as it is to eat.
PrintOreo No-Bake Cheesecake Cups : Creamy & Delicious
- Total Time: 2 hours 20 minutes
Description
If you’re craving a quick, crowd-pleasing dessert that’s full of creamy richness and Oreo cookie goodness, these Oreo No-Bake Cheesecake Cups are the answer.
Ingredients
For the crust and layers
15 Oreo cookies, crushed (use more for extra layers or topping)
3 tablespoons melted butter
For the cheesecake filling
8 oz (225g) cream cheese, softened
¼ cup powdered sugar
1 teaspoon vanilla extract
1 cup heavy whipping cream
6–8 additional Oreos, chopped or crushed
Optional toppings
Whipped cream
Crushed Oreos
Mini chocolate chips
Chocolate drizzle or ganache
Instructions
Step 1 – Make the crust
Crush 15 Oreo cookies in a food processor or in a zip-top bag with a rolling pin until fine crumbs form. Mix with melted butter. Spoon about 1–2 tablespoons of the mixture into the bottom of each serving cup and press gently. Set aside.
Step 2 – Prepare the whipped cream
In a chilled bowl, whip the heavy cream until soft peaks form. Add a touch of vanilla extract and continue whipping to stiff peaks. Set aside.
Step 3 – Make the cheesecake filling
In a separate bowl, beat the softened cream cheese with powdered sugar and vanilla extract until smooth and fluffy. Gently fold in the whipped cream until fully combined. Fold in crushed or chopped Oreos.
Step 4 – Assemble the cups
Layer the cheesecake mixture over the Oreo crust in your cups. You can alternate layers with more crushed cookies if desired. Smooth the tops with a spoon or pipe the mixture using a piping bag for a neater finish.
Step 5 – Chill and serve
Refrigerate the cups for at least 2 hours to allow the filling to set. Just before serving, top with whipped cream, Oreo crumbs, or chocolate drizzle.
Notes
Use room temperature cream cheese for the smoothest texture
Chill your mixing bowl and beaters before whipping the cream
Don’t overmix the filling once the whipped cream is added—fold gently
- Prep Time: 20
- Category: Dessert
- Cuisine: American
Nutrition
- Serving Size: 6–8 cups
- Calories: 320
- Sugar: 3g
- Fat: 8g
- Carbohydrates: 18g
Keywords: Oreo No-Bake Cheesecake Cups
