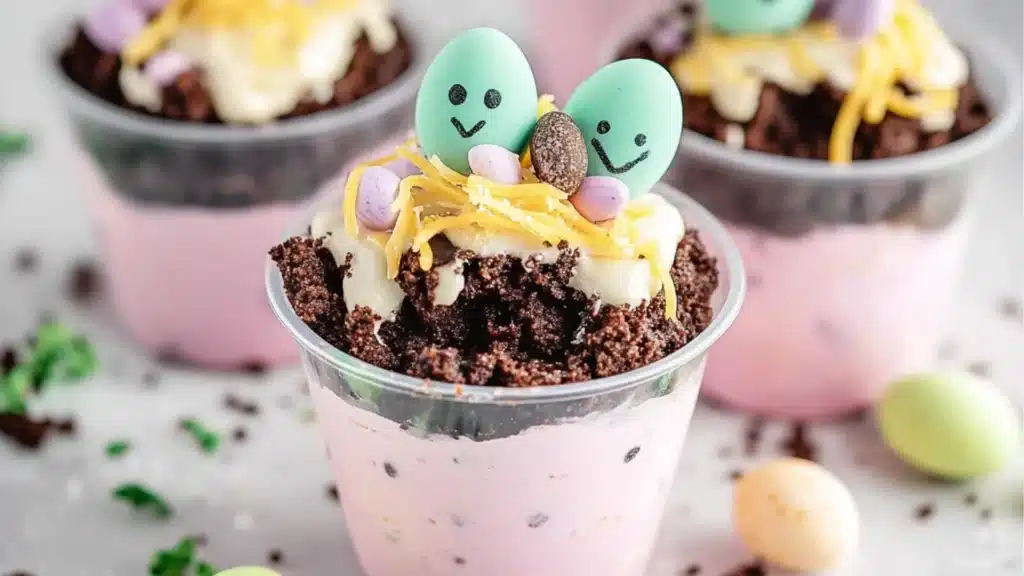
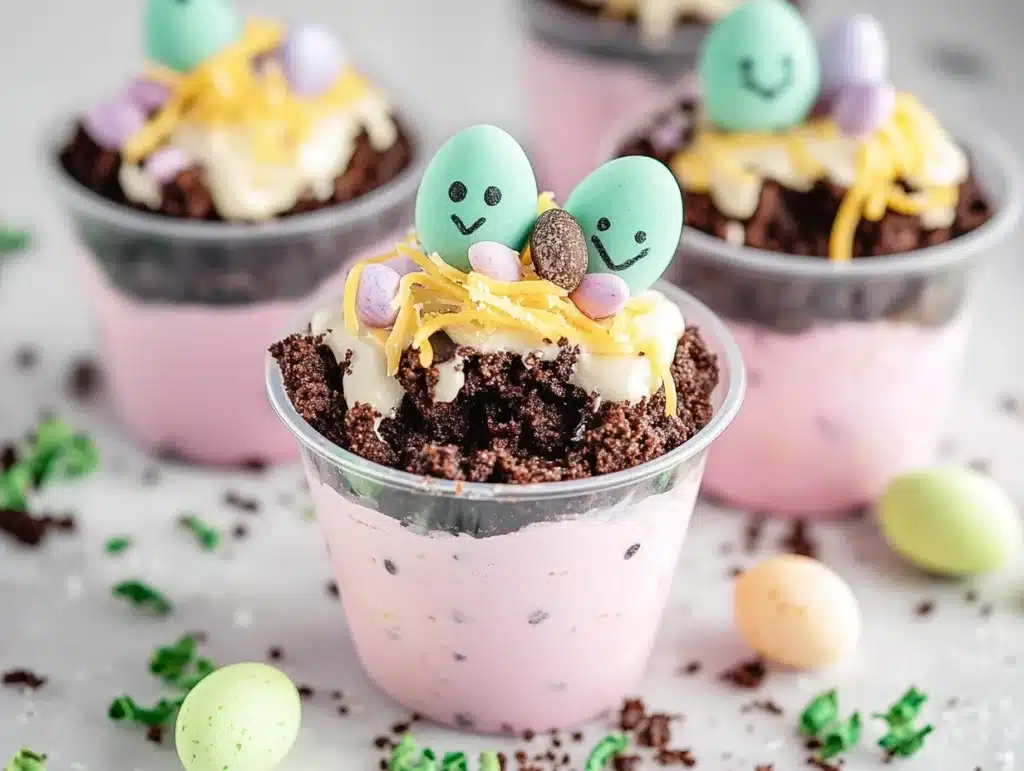
If you’re looking for a festive and delicious Easter dessert, these Easter Dirt Cups are the perfect treat! With layers of creamy chocolate pudding, crushed Oreo dirt, and adorable Easter decorations, this dirt dessert recipe is a fun way to celebrate the holiday.
Not only are these dirt cups easy to make, but they’re also kid-friendly and perfect for Easter parties, classroom treats, or spring gatherings. Whether you’re making them for an Easter brunch or simply want a fun Easter party food idea, these no-bake cake cups will be a hit with everyone!
Let’s get started on this delightful dessert Oreo creation that’s as fun to make as it is to eat.
Table of Contents
Why You’ll Love These Easter Dirt Cups
✔ No-Bake and Easy to Make – Takes just 15 minutes to prepare!
✔ Kid-Friendly and Fun – A perfect treat for children to help assemble.
✔ Customizable – Swap toppings, pudding flavors, or decorations for different looks.
✔ Perfect for Easter Celebrations – A great addition to any Easter desserts table.
✔ Make-Ahead Friendly – Prep them in advance for stress-free party planning.
Ingredients You’ll Need
To make these delicious dirt cups Easter treats, gather the following ingredients:
For the Pudding Layer:
- 2 cups cold milk
- 1 box (3.9 oz) instant chocolate pudding mix
- 1 cup whipped topping (Cool Whip), thawed
For the Oreo Dirt Layer:
- 18 Oreo cookies, crushed into fine crumbs
For the Easter Decorations:
- 12 Peeps marshmallow bunnies or chicks
- ½ cup shredded coconut (optional)
- 2 drops green food coloring (for grass effect)
- ½ cup chocolate eggs (Cadbury Mini Eggs, M&M’s, or jelly beans)
- 12 clear plastic cups (8 oz size)
Kitchen Equipment Required
✔ Mixing bowls – For preparing the pudding and whipped topping.
✔ Whisk or electric mixer – Ensures smooth pudding.
✔ Food processor or rolling pin – For crushing Oreos.
✔ Plastic cups or dessert glasses – Perfect for assembling individual dirt cups.
✔ Spoon or piping bag – For layering the pudding neatly.
How to Make Easter Dirt Cups
Step 1: Prepare the Chocolate Pudding
In a large mixing bowl, whisk together cold milk and chocolate pudding mix for about 2 minutes until it thickens. Fold in the whipped topping gently until fully combined. Set aside.
Step 2: Crush the Oreo Cookies
Place Oreo cookies in a food processor and pulse until they turn into fine crumbs. If you don’t have a food processor, put them in a ziplock bag and crush them with a rolling pin.
Step 3: Color the Coconut (Optional)
If you want a grass effect, place shredded coconut in a small bowl. Add 2 drops of green food coloring and mix until the coconut turns green.
Step 4: Assemble the Dirt Cups
Spoon 2 tablespoons of crushed Oreos into the bottom of each cup. Add a layer of chocolate pudding on top. Repeat the layers until the cups are full, finishing with a generous sprinkle of Oreo crumbs on top.
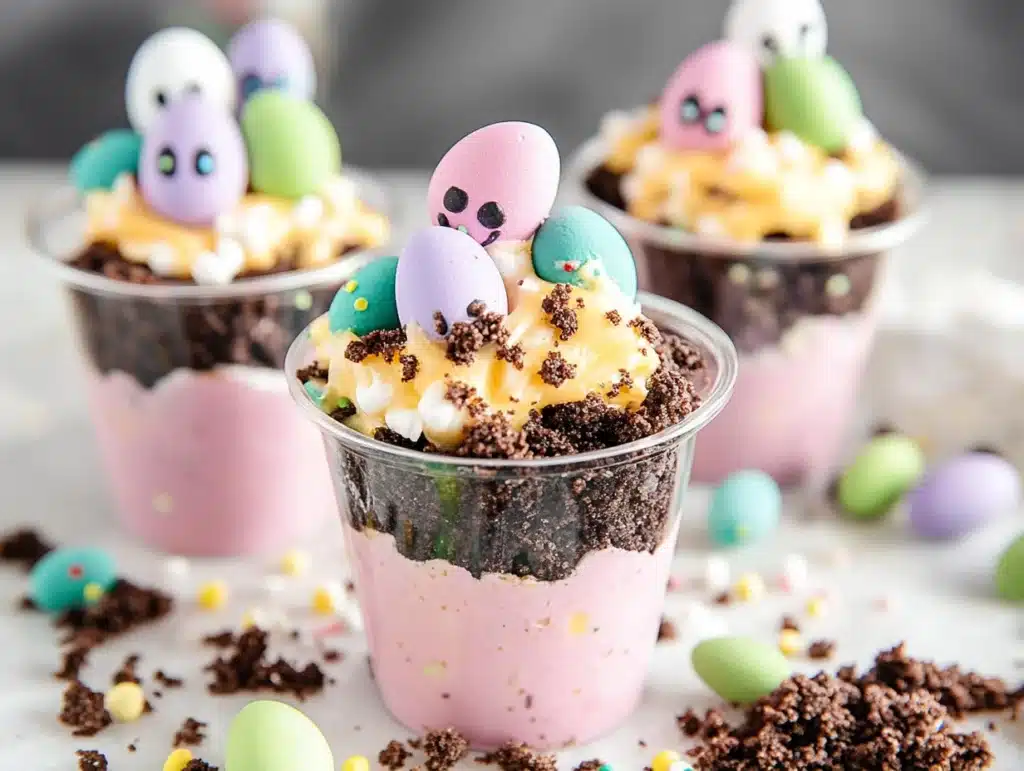
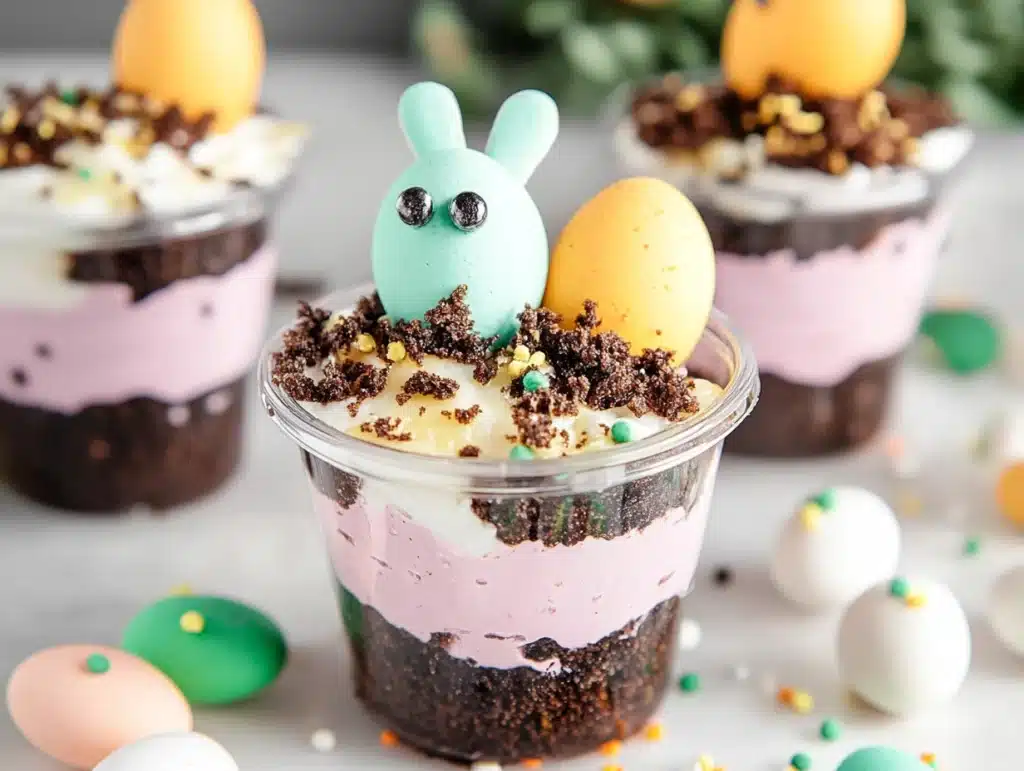
Step 5: Decorate for Easter
Place a Peeps bunny or chick on top of each cup. Sprinkle with colored coconut to create a grassy look. Add chocolate eggs or jelly beans around the Peeps for extra Easter flair.
Step 6: Chill and Serve
Refrigerate for at least 30 minutes before serving to let the flavors set. Enjoy these adorable Easter desserts with family and friends!
Expert Tips for the Best Dirt Dessert
✔ Use Cold Milk – Helps the pudding thicken faster.
✔ Crush Oreos Finely – Creates a realistic dirt texture.
✔ Let the Pudding Set – Chilling helps the flavors meld together.
✔ Get Creative with Toppings – Add gummy worms or sprinkles for a fun twist.
Common Mistakes to Avoid
🚫 Not Mixing the Pudding Well – Can lead to lumps. Whisk thoroughly!
🚫 Using Regular Pudding Instead of Instant – Instant pudding sets quickly, while regular pudding needs cooking.
🚫 Overloading the Cups with Oreos – Balance pudding and cookie layers for the best texture.
Variations and Substitutions
✔ Use Different Pudding Flavors – Try vanilla, butterscotch, or cookies and cream.
✔ Make it Gluten-Free – Use gluten-free chocolate cookies instead of Oreos.
✔ Turn It Into a Large Trifle – Layer everything in a big dish instead of individual cups.
✔ Add Layers of Cake – Use crumbled chocolate cake for a richer dirt cup.
How to Store and Make Ahead
Storage:
- Keep refrigerated for up to 2 days, covered with plastic wrap.
- Do not freeze, as pudding does not thaw well.
Make-Ahead Tips:
- Prepare the pudding and Oreos separately and assemble just before serving for the best texture.
- Add decorations right before serving to keep them fresh.
Serving and Presentation Ideas
🌷 Use Mini Flower Pots – Serve in small flower pots for a garden-themed Easter dessert.
🐰 Add Bunny Faces – Draw faces on Peeps with edible markers.
🍫 Drizzle with Melted Chocolate – Adds extra decadence.
🎉 Make It a DIY Dessert Bar – Let guests customize their own dirt cups with different toppings!
Frequently Asked Questions (FAQs)
1. Can I use homemade pudding?
Yes! If you prefer, make homemade chocolate pudding instead of instant.
2. How long do Easter Dirt Cups last?
They are best eaten within 24-48 hours for the freshest taste.
3. Can I make this without Cool Whip?
Absolutely! Use homemade whipped cream instead.
4. Can I use a different cookie instead of Oreos?
Yes! Chocolate graham crackers or crushed vanilla wafers work well too.
Conclusion & Call to Action
These Easter Dirt Cups are the perfect no-bake dirt dessert recipe for celebrating spring! With layers of creamy pudding, crushed Oreo dirt, and adorable decorations, they make a fun and delicious Easter party food.
Try this recipe today and let us know how it turned out! Don’t forget to share this recipe with your friends and subscribe for more festive Easter desserts ideas!
Print
Easter Dirt Cups : A Fun No-Bake Dessert
- Total Time: 45
Description
If you’re looking for a festive and delicious Easter dessert, these Easter Dirt Cups are the perfect treat!
Ingredients
For the Pudding Layer:
- 2 cups cold milk
- 1 box (3.9 oz) instant chocolate pudding mix
- 1 cup whipped topping (Cool Whip), thawed
For the Oreo Dirt Layer:
- 18 Oreo cookies, crushed into fine crumbs
For the Easter Decorations:
- 12 Peeps marshmallow bunnies or chicks
- ½ cup shredded coconut (optional)
- 2 drops green food coloring (for grass effect)
- ½ cup chocolate eggs (Cadbury Mini Eggs, M&M’s, or jelly beans)
- 12 clear plastic cups (8 oz size)
Instructions
In a large mixing bowl, whisk together cold milk and chocolate pudding mix for about 2 minutes until it thickens. Fold in the whipped topping gently until fully combined. Set aside.
Place Oreo cookies in a food processor and pulse until they turn into fine crumbs. If you don’t have a food processor, put them in a ziplock bag and crush them with a rolling pin.
If you want a grass effect, place shredded coconut in a small bowl. Add 2 drops of green food coloring and mix until the coconut turns green.
Spoon 2 tablespoons of crushed Oreos into the bottom of each cup. Add a layer of chocolate pudding on top. Repeat the layers until the cups are full, finishing with a generous sprinkle of Oreo crumbs on top.
Place a Peeps bunny or chick on top of each cup. Sprinkle with colored coconut to create a grassy look. Add chocolate eggs or jelly beans around the Peeps for extra Easter flair.
Refrigerate for at least 30 minutes before serving to let the flavors set. Enjoy these adorable Easter desserts with family and friends!
Notes
✔ Use Cold Milk – Helps the pudding thicken faster.
✔ Crush Oreos Finely – Creates a realistic dirt texture.
✔ Let the Pudding Set – Chilling helps the flavors meld together.
- Prep Time: 15
- Cook Time: 30
- Category: Dessert
- Cuisine: American
Nutrition
- Serving Size: 6
- Calories: 450
- Sugar: 5g
- Fat: 30g
- Carbohydrates: 40g
Keywords: Dirt Dessert Recipe