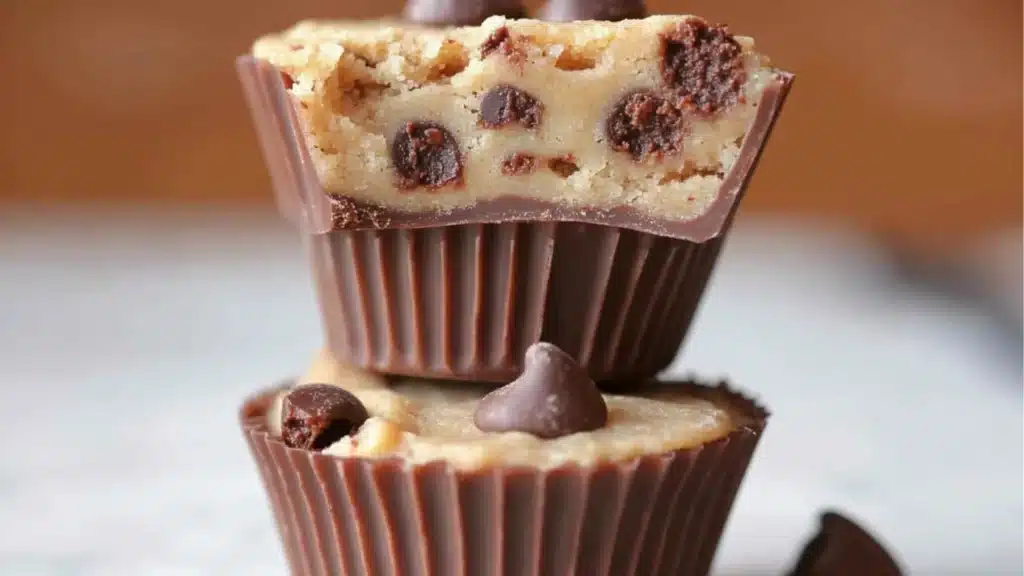
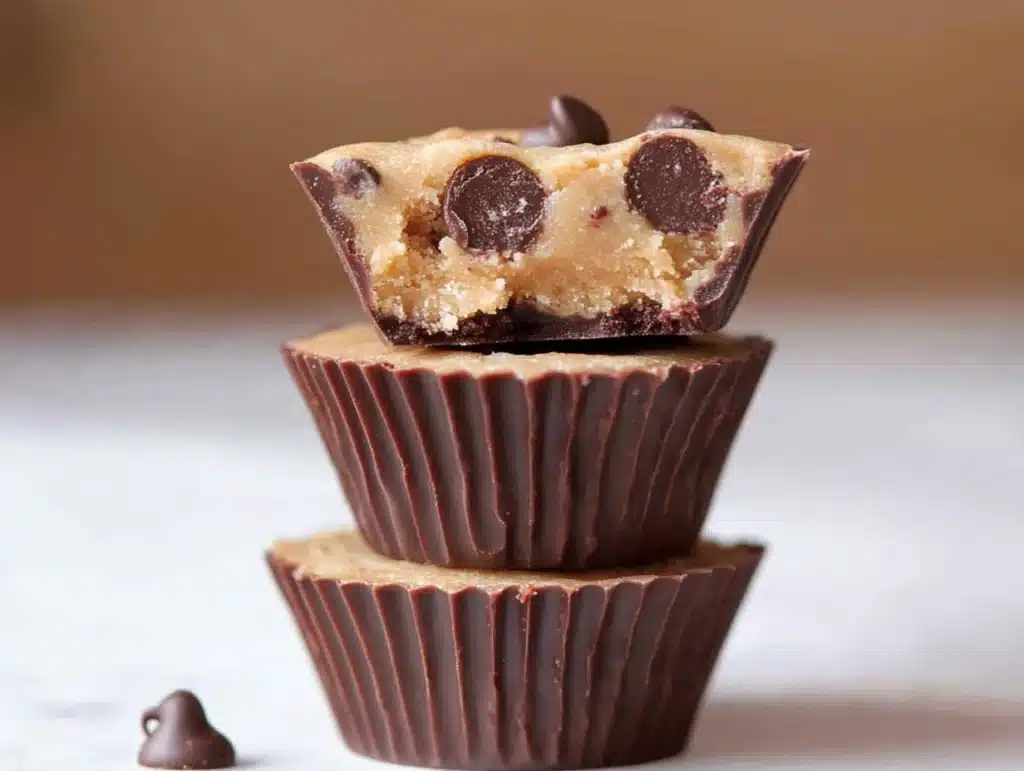
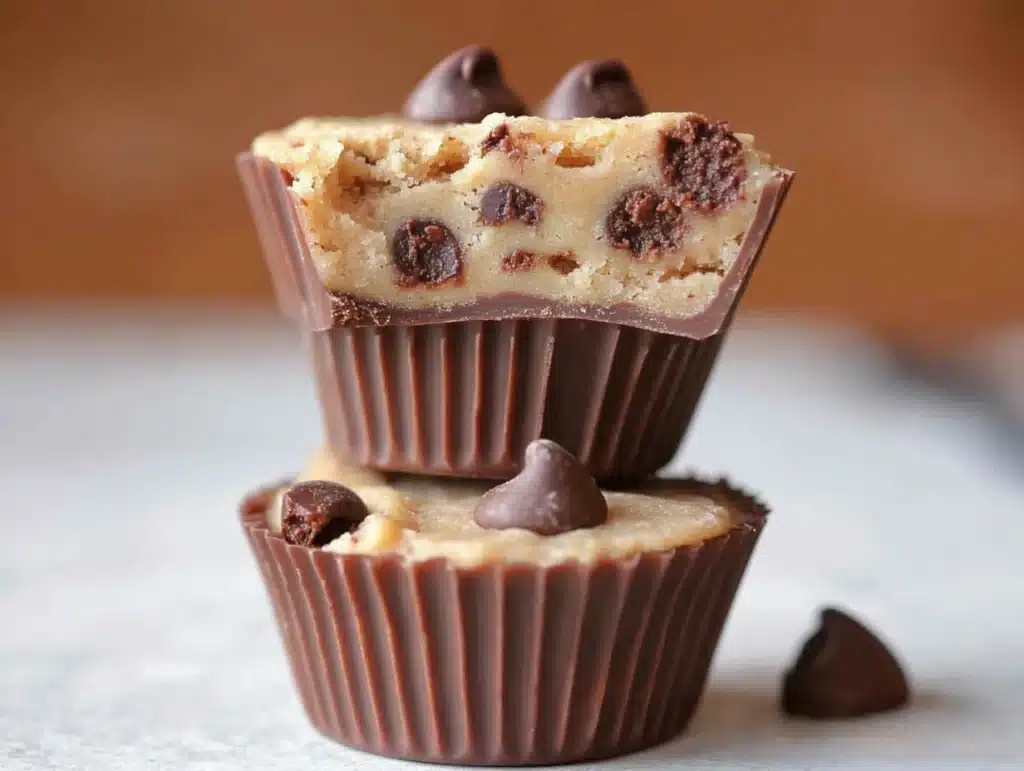
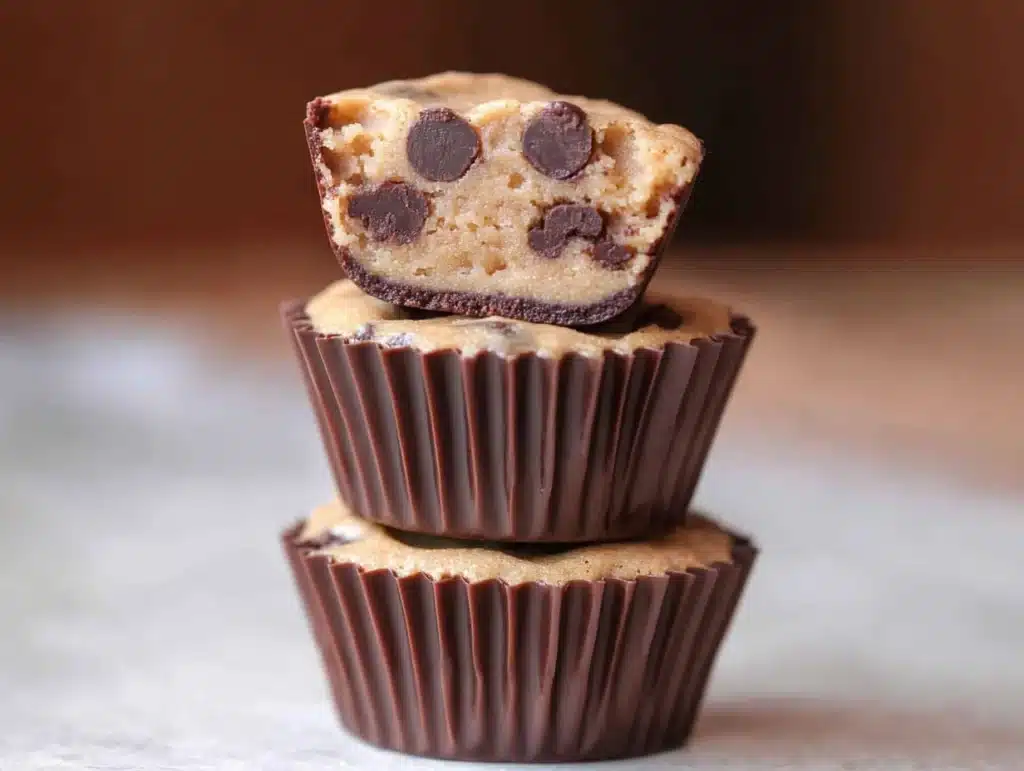
There’s something nostalgic and undeniably comforting about cookie dough—especially when it’s safe to eat straight from the bowl. Now imagine that rich, buttery dough encased in a shell of smooth chocolate and served in the perfect two-bite size. That’s exactly what these Chocolate Chip Cookie Dough Cups deliver: indulgent, portable, and entirely irresistible.
These bite-sized treats combine edible cookie dough and melted chocolate into an easy, no-bake dessert that’s perfect for parties, gifts, or weeknight cravings. Best of all, you can make them in under 30 minutes with pantry staples and zero oven time.
Whether you’re a chocolate lover, a cookie dough fan, or simply looking for a foolproof dessert, this recipe is sure to become a household favorite.
Table of Contents
Why You’ll Fall in Love with These Cookie Dough Cups
There are plenty of reasons these chocolate chip cookie dough cups are beloved by dessert lovers everywhere:
- No baking required – Perfect for hot days or quick treats
- Safe to eat – Heat-treated flour and no raw eggs
- Portable and freezer-friendly – Great for make-ahead desserts
- Perfectly portioned – Ideal for snacking or sharing
- Customizable – Endless add-in options from sprinkles to peanut butter
They’re fun to make and even more fun to eat—because who can resist edible cookie dough wrapped in chocolate?
Ingredients for Chocolate Chip Cookie Dough Cups
These cookie dough cups are made with simple ingredients you probably already have:
For the cookie dough filling:
- ½ cup (1 stick) unsalted butter, room temperature
- ½ cup light brown sugar, packed
- ¼ cup granulated sugar
- 1 teaspoon vanilla extract
- 2 tablespoons milk (or cream)
- 1 cup all-purpose flour (heat-treated)
- ½ teaspoon salt
- ½ cup mini chocolate chips
For the chocolate shell:
- 2 cups semi-sweet chocolate chips (or chopped chocolate)
- 1 tablespoon coconut oil (optional, for smoother chocolate)
These ingredients create that classic cookie dough flavor—sweet, rich, and dotted with mini chocolate chips—nestled inside silky chocolate cups.
Kitchen Tools You’ll Need for This Easy Dessert
To make these chocolate chip cookie dough cups, you’ll need just a few basic tools:
- Mini muffin tin (12 or 24-count)
- Paper or silicone mini cupcake liners
- Microwave-safe bowls
- Spoon or cookie scoop
- Rubber spatula
- Measuring cups and spoons
- Baking sheet (optional, for transferring to the fridge/freezer)
You don’t need a mixer—this is a simple stir-and-scoop kind of recipe!
How to Make Chocolate Chip Cookie Dough Cups Step-by-Step
Step 1 – Heat-treat the flour
Preheat your oven to 350°F (175°C). Spread the flour on a baking sheet and bake for 5–7 minutes to kill any bacteria. Let it cool completely before using. (Or microwave flour in 30-second bursts until it reaches 165°F.)
Step 2 – Make the cookie dough
In a mixing bowl, beat together the butter, brown sugar, and granulated sugar until smooth and fluffy. Stir in the vanilla and milk. Add the cooled, heat-treated flour and salt. Mix until combined, then fold in the mini chocolate chips. Chill in the fridge while you prepare the chocolate shells.
Step 3 – Melt the chocolate
In a microwave-safe bowl, melt the chocolate chips and coconut oil (if using) in 30-second intervals, stirring between each, until smooth and fully melted.
Step 4 – Make the chocolate cups
Line a mini muffin tin with cupcake liners. Spoon about 1 teaspoon of melted chocolate into the bottom of each liner. Use the back of a spoon to coat the sides. Chill in the freezer for 10–15 minutes until set.
Step 5 – Fill the cups
Once the chocolate shells are firm, roll the chilled cookie dough into small balls (about 1 tablespoon each) and press gently into each cup. Leave a little space at the top for sealing with chocolate.
Step 6 – Seal with chocolate
Spoon more melted chocolate over the top of each filled cup and smooth with the back of a spoon to seal. Chill until the chocolate is firm—about 15 minutes in the fridge or 10 in the freezer.
Step 7 – Serve and enjoy
Peel off the cupcake liners and serve chilled or at room temperature. Store leftovers in an airtight container.
How to Heat-Treat Flour Safely for Edible Cookie Dough
Since these treats are no-bake, heat-treating the flour is essential to kill any potential bacteria.
Two methods:
- Oven: Spread flour on a baking sheet and bake at 350°F for 5–7 minutes
- Microwave: Heat flour in a bowl in 30-second bursts, stirring in between, until it reaches 165°F
Let it cool before adding to your cookie dough base.
Chocolate Tips: Melting, Coating, and Filling Cups Like a Pro
- Use high-quality chocolate: The flavor and texture will be smoother and more luxurious
- Add coconut oil: Just a teaspoon makes the chocolate easier to work with
- Don’t overheat: Stir chocolate between microwave intervals to avoid burning
- Use a spoon to coat sides: Tilt the liners and spread the chocolate for even coverage
- Chill after each layer: Firm shells make filling and sealing much easier
These small details make your cookie dough cups look polished and professional.
Flavor Variations and Fun Add-Ins to Try
Once you’ve mastered the classic version, mix it up with creative twists:
- Peanut butter swirl – Add 1 tablespoon of peanut butter to the dough
- M&M minis or rainbow sprinkles – For a colorful crunch
- Chopped pretzels or toffee bits – Add salty-sweet goodness
- White chocolate chips or dark chocolate chunks – For variation
- Crushed Oreos or graham crackers – Fold into the dough for texture
You can also switch the chocolate coating to white, milk, or dark chocolate depending on your taste.
How to Store and Serve Cookie Dough Cups
To store:
Place the cups in an airtight container and refrigerate for up to 7 days. For best texture, allow them to sit at room temperature for 5–10 minutes before serving.
To serve:
These cups are delicious straight from the fridge, but letting them soften slightly brings out the richness of the cookie dough and the smoothness of the chocolate.
Perfect for parties, lunchboxes, or anytime snacking.
Can You Freeze Chocolate Chip Cookie Dough Cups?
Absolutely! These cookie dough cups freeze beautifully.
To freeze:
Place the finished cups on a baking sheet and freeze for 1 hour, then transfer to a zip-top freezer bag or container. Store for up to 2 months.
To serve from frozen:
Let them thaw at room temperature for 15–20 minutes before eating, or enjoy straight from the freezer for a firmer bite.
These make-ahead treats are ideal for holiday platters, party prep, or keeping a secret stash for yourself.
Perfect for Parties: Serving and Presentation Ideas
These bite-sized treats are as cute as they are delicious. Here’s how to make them shine at your next event:
- Serve on a tiered dessert tray for a professional look
- Add a drizzle of melted chocolate or caramel on top for flair
- Top with a mini chocolate chip or sea salt flake for contrast
- Wrap in mini candy bags for party favors or edible gifts
- Arrange with other no-bake treats for a dessert bar
No matter how you serve them, these cookie dough cups are guaranteed to disappear fast!
Common Mistakes to Avoid with No-Bake Cookie Dough Desserts
- Skipping heat treatment for flour – Always make the dough safe to eat
- Overheating the chocolate – Can cause it to seize or burn
- Using large chocolate chips – Mini chips are better for smooth texture
- Not chilling the cups long enough – The chocolate won’t set properly
- Overfilling the liners – Makes sealing with chocolate messy
Stick to these guidelines for smooth, professional-looking results every time.
FAQ: Chocolate Chip Cookie Dough Cups
Can I use store-bought edible cookie dough?
Yes! Just make sure it’s safe to eat raw. Skip the dough-making step and proceed to filling the cups.
Are these safe for kids?
Absolutely. With heat-treated flour and no eggs, they’re 100% safe and fun for kids to help make.
Can I make these dairy-free or vegan?
Yes! Use plant-based butter, non-dairy milk, and vegan chocolate chips. Choose dairy-free edible cookie dough recipes.
How long do they last in the fridge?
Up to 1 week in an airtight container. They stay fresh and delicious.
Can I make full-size muffin versions?
You can! Use regular muffin liners and double the dough and chocolate portions per cup.
Final Thoughts: The Ultimate Treat for Cookie Dough Lovers
If you love cookie dough, these Chocolate Chip Cookie Dough Cups are a dream come true. They’re rich, chocolaty, and filled with soft, sweet cookie dough in every bite. Best of all, they’re easy to make, endlessly customizable, and perfect for any occasion—from birthdays to midnight cravings.
So skip the oven and grab a spoon—this is your new favorite no-bake dessert.
PrintChocolate Chip Cookie Dough Cups : No-Bake Dessert
- Total Time: 45
Description
There’s something nostalgic and undeniably comforting about cookie dough—especially when it’s safe to eat straight from the bowl
Ingredients
For the cookie dough filling:
- ½ cup (1 stick) unsalted butter, room temperature
- ½ cup light brown sugar, packed
- ¼ cup granulated sugar
- 1 teaspoon vanilla extract
- 2 tablespoons milk (or cream)
- 1 cup all-purpose flour (heat-treated)
- ½ teaspoon salt
- ½ cup mini chocolate chips
For the chocolate shell:
- 2 cups semi-sweet chocolate chips (or chopped chocolate)
- 1 tablespoon coconut oil (optional, for smoother chocolate)
Instructions
Step 1 – Heat-treat the flour
Preheat your oven to 350°F (175°C). Spread the flour on a baking sheet and bake for 5–7 minutes to kill any bacteria. Let it cool completely before using. (Or microwave flour in 30-second bursts until it reaches 165°F.)
Step 2 – Make the cookie dough
In a mixing bowl, beat together the butter, brown sugar, and granulated sugar until smooth and fluffy. Stir in the vanilla and milk. Add the cooled, heat-treated flour and salt. Mix until combined, then fold in the mini chocolate chips. Chill in the fridge while you prepare the chocolate shells.
Step 3 – Melt the chocolate
In a microwave-safe bowl, melt the chocolate chips and coconut oil (if using) in 30-second intervals, stirring between each, until smooth and fully melted.
Step 4 – Make the chocolate cups
Line a mini muffin tin with cupcake liners. Spoon about 1 teaspoon of melted chocolate into the bottom of each liner. Use the back of a spoon to coat the sides. Chill in the freezer for 10–15 minutes until set.
Step 5 – Fill the cups
Once the chocolate shells are firm, roll the chilled cookie dough into small balls (about 1 tablespoon each) and press gently into each cup. Leave a little space at the top for sealing with chocolate.
Step 6 – Seal with chocolate
Spoon more melted chocolate over the top of each filled cup and smooth with the back of a spoon to seal. Chill until the chocolate is firm—about 15 minutes in the fridge or 10 in the freezer.
Step 7 – Serve and enjoy
Peel off the cupcake liners and serve chilled or at room temperature. Store leftovers in an airtight container.
Notes
Chocolate Chip Cookie Dough Cups : No-Bake Dessert
- Prep Time: 25
- Cook Time: 20
- Category: Dessert
- Cuisine: American
Nutrition
- Serving Size: 12–24 mini cups
- Calories: 150
- Sugar: 2g
- Fat: 8g
- Carbohydrates: 10g
Keywords: Chocolate Chip Cookie Dough Cups

