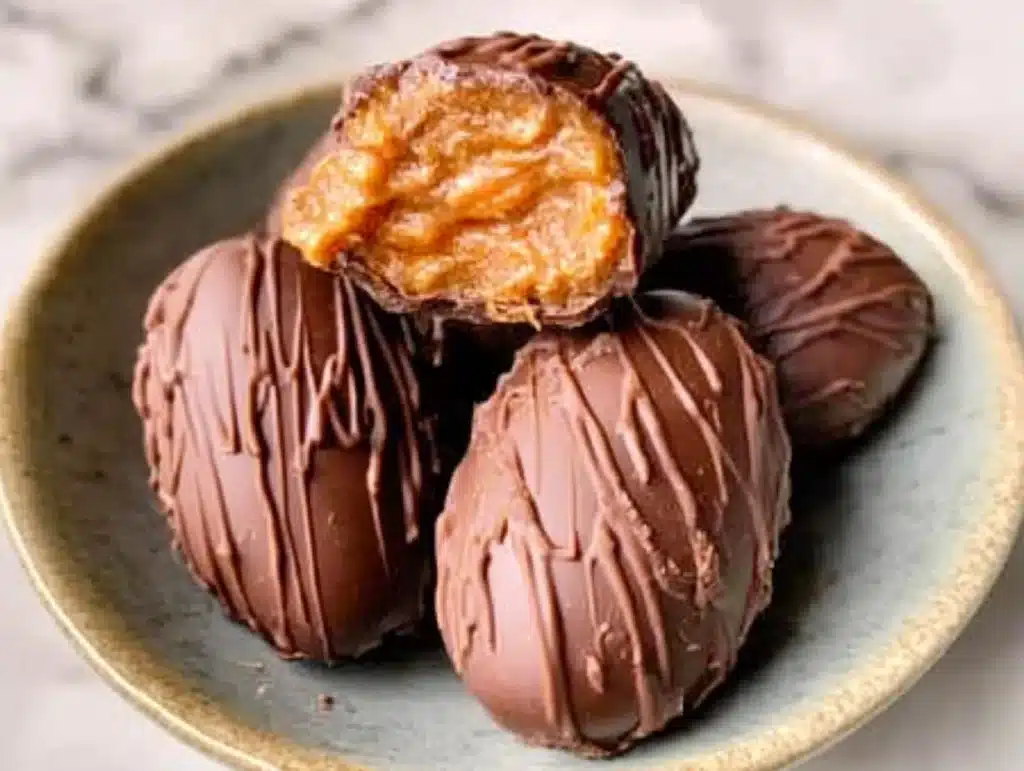
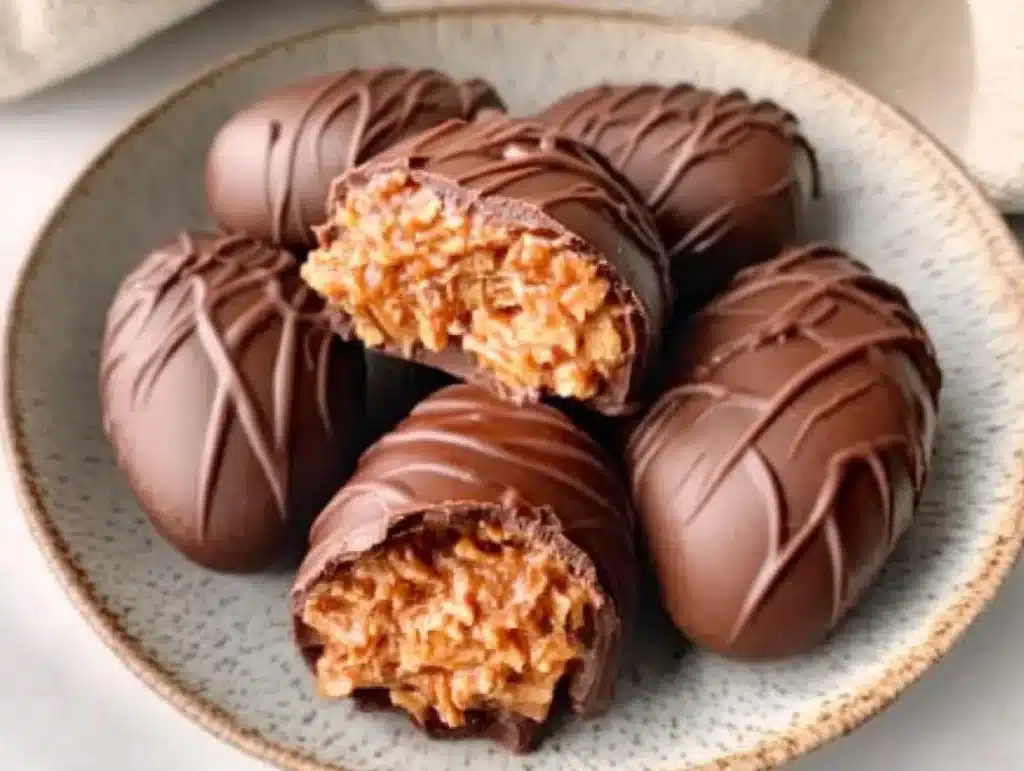
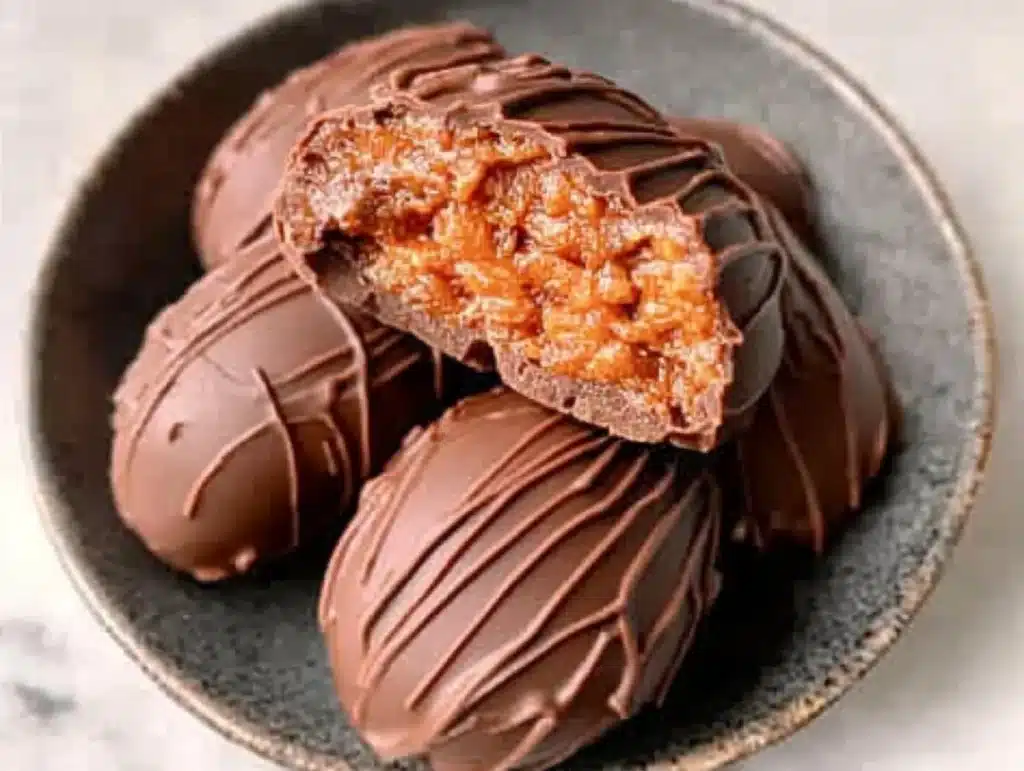
Easter just wouldn’t be the same without a basket full of sweet, chocolatey treats. If you’re looking for a festive homemade dessert that’s fun to make and even more fun to eat, these Butterfinger Chocolate Easter Eggs are guaranteed to be a hit. With their crispy, peanut buttery center coated in a smooth chocolate shell, they’re a nostalgic throwback to classic candy bars—only better, because they’re made from scratch with clean, wholesome ingredients.
Whether you’re assembling DIY Easter baskets, hosting a spring brunch, or simply craving something sweet with a little crunch, this recipe delivers. These eggs are naturally gluten-free, easily made vegan, and require no baking—just a few simple ingredients, a little chill time, and a whole lot of chocolate.
Let’s dive into this festive favorite and learn how to make your own Butterfinger-inspired Easter eggs right at home.
Table of Contents
Why You’ll Love These Butterfinger Chocolate Easter Eggs
There’s a lot to love about this recipe, and once you try it, you’ll see why they’ve quickly become a holiday staple.
First and foremost, these chocolate Easter eggs taste amazing. The center is a dreamy combination of creamy peanut butter and crispy cornflakes, with a hint of maple sweetness and that signature Butterfinger crunch. Covered in rich, melted chocolate, they hit every note—sweet, salty, crunchy, and smooth.
They’re also incredibly easy to make. No baking, no complicated candy thermometers, and no fancy ingredients. In fact, you likely have most of what you need in your pantry right now.
And perhaps best of all? These Easter eggs are made with better-for-you ingredients. This version skips the artificial additives and uses natural sweeteners and dairy-free options, making them perfect for a wide range of dietary needs.
Whether you’re a candy lover, a parent looking for healthier Easter treats, or a chocolate enthusiast, these homemade Butterfinger chocolate Easter eggs will be your new favorite sweet.
Ingredients You’ll Need for Butterfinger Chocolate Easter Eggs
This recipe uses wholesome pantry staples to recreate the Butterfinger texture and flavor in a healthier, homemade way.
Here’s what you’ll need:
- 1 cup natural creamy peanut butter (or almond butter)
- 1 tablespoon maple syrup (or honey)
- 1 ½ cups crushed cornflakes (gluten-free if needed)
- ½ teaspoon vanilla extract
- Pinch of sea salt
- 1 cup chocolate chips (dairy-free or dark chocolate if desired)
- 1 teaspoon coconut oil (for smoother melting)
Optional toppings:
- Crushed cornflakes
- Flaky sea salt
- Sprinkles or colored drizzle for decoration
Note: For a vegan version, use dairy-free chocolate chips and maple syrup instead of honey.
Kitchen Tools Required to Make These Easter Treats
No special equipment is needed to make these Butterfinger Chocolate Easter Eggs, which is another reason they’re such a go-to Easter treat.
Here’s what you’ll need:
- Mixing bowl
- Spoon or spatula
- Measuring cups and spoons
- Baking sheet or plate
- Parchment paper
- Small saucepan or microwave-safe bowl (for melting chocolate)
- Fork or dipping tool
You may also want a cookie scoop to portion the filling or an egg-shaped silicone mold if you want perfect egg shapes—though hand shaping works beautifully too.
Step-by-Step Instructions: How to Make Butterfinger Chocolate Easter Eggs
Making these chocolate Easter eggs at home is fun, simple, and perfect for involving kids or friends in the kitchen.
Step 1: Crush the cornflakes
Place the cornflakes in a zip-top bag and crush them with a rolling pin until finely crumbled, but not powdered. You want small pieces for that classic Butterfinger crunch.
Step 2: Mix the filling
In a large bowl, combine the peanut butter, maple syrup, vanilla extract, and a pinch of salt. Stir until smooth. Add the crushed cornflakes and mix until evenly combined. The mixture should be thick and moldable.
Step 3: Shape into eggs
Scoop out tablespoon-sized portions and shape each one into a small oval or egg shape using your hands. Place them on a parchment-lined baking sheet or plate. Once all the eggs are formed, place the tray in the freezer for 20–30 minutes until firm.
Step 4: Melt the chocolate
In a microwave-safe bowl or double boiler, melt the chocolate chips with coconut oil until smooth. If microwaving, heat in 30-second increments, stirring in between to avoid burning.
Step 5: Dip the eggs
Once the peanut butter eggs are firm, remove them from the freezer. Using a fork, dip each egg into the melted chocolate, allowing excess to drip off. Place the coated eggs back on the parchment paper.
Step 6: Decorate and chill
Before the chocolate sets, sprinkle with crushed cornflakes, sea salt, or colorful sprinkles for a festive touch. Refrigerate the eggs for 15–20 minutes, or until the chocolate is fully set.
And just like that, your Butterfinger-inspired Easter eggs are ready to enjoy!
Tips for Perfect Homemade Easter Eggs Every Time
Use natural peanut butter with no added sugar or oils. This ensures the best texture and flavor.
Don’t skip chilling the eggs before dipping. Cold eggs help the chocolate set faster and prevent melting during dipping.
Add coconut oil to your chocolate. It makes the melted chocolate smoother and easier to coat.
Work quickly when dipping. If the chocolate starts to thicken, reheat briefly in the microwave.
For a clean look, let excess chocolate drip off before placing the egg on the parchment.
Use a fork or dipping tool rather than a spoon—it gives a smoother, more even chocolate coating.
Common Mistakes to Avoid When Making Chocolate Easter Eggs
Melting chocolate too fast can cause it to seize. Always melt in short bursts and stir in between.
Not freezing the eggs long enough can make them fall apart or melt when dipped.
Over-crushing the cornflakes will make the filling too soft. You want a fine crunch, not powder.
Using overly oily nut butter can lead to a runny filling. Stir well or choose a thicker variety.
Skipping parchment paper can lead to sticking. Always line your tray for easier cleanup.
Avoid using large chunks of cereal or unmixed peanut butter—they’ll affect the texture and shape.
Creative Variations of Butterfinger Easter Eggs
Want to put your own spin on these chocolatey Easter eggs? Here are some fun ideas to customize the flavor and presentation:
Swap the nut butter: Try almond butter, sunflower seed butter, or cashew butter for a different taste.
Add crushed peanuts or coconut flakes to the filling for added texture.
Mix in a touch of cocoa powder or protein powder to the base for a chocolatey or protein-boosted version.
Use white chocolate or colored candy melts for the coating to create pastel-colored Easter eggs.
Add natural food coloring to the chocolate drizzle for decorative accents.
Try layering the filling with a little caramel or jam for a surprise center.
How to Decorate Your Easter Eggs for a Festive Touch
Presentation makes these treats extra special, especially for gifting or Easter baskets. Here are a few simple decoration ideas:
Drizzle with contrasting chocolate (white on dark, or dark on white) using a spoon or piping bag.
Sprinkle with pastel or themed sprinkles while the chocolate is still wet.
Add crushed cornflakes or chopped nuts on top for crunch.
Dust with edible glitter or gold leaf for an elegant finish.
Use edible pens to draw simple faces, patterns, or designs once the chocolate sets.
Place each egg in a mini cupcake liner for a polished, gift-worthy presentation.
How to Store and Freeze Your Chocolate Easter Eggs
These homemade Easter eggs store beautifully, making them great for make-ahead prep.
To store:
Keep in an airtight container in the refrigerator for up to 7 days. Separate layers with parchment paper to avoid sticking.
To freeze:
Place the eggs in a single layer on a baking sheet and freeze until solid. Then transfer to a freezer-safe container or bag. Store for up to 2 months. Thaw in the fridge before serving.
Note: If freezing, don’t decorate with sprinkles until after thawing to maintain color and texture.
What to Serve with Butterfinger Chocolate Easter Eggs
While these eggs are perfectly delicious on their own, they also pair wonderfully with a few fun, non-alcoholic options:
A warm mug of hot cocoa or dairy-free chocolate milk.
Homemade almond milk lattes or spiced chai for a cozy pairing.
Fresh fruit platters like strawberries, pineapple, or apple slices to balance the richness.
A refreshing spring mocktail with citrus, mint, and sparkling water.
Serve alongside other small desserts like carrot cake bites or mini muffins for a full Easter dessert tray.
Frequently Asked Questions About Homemade Easter Eggs
Can I make these in advance?
Yes! These eggs can be made several days ahead and stored in the fridge or freezer.
Can I use store-bought chocolate coating or candy melts?
Absolutely. Use what you prefer or have on hand—just be sure to melt them slowly to prevent burning.
What if I don’t have cornflakes?
You can substitute crushed rice cereal, crispy quinoa, or even crushed pretzels for a similar crunch.
Can I make them nut-free?
Yes, use sunflower seed butter or oat butter as a substitute for peanut butter.
Do I need an egg mold?
Not at all. Hand shaping gives a rustic, homemade charm that looks beautiful once coated in chocolate.
How long do they last?
They last up to a week refrigerated or two months frozen.
Final Thoughts: Share the Sweetness This Easter Season
These Butterfinger Chocolate Easter Eggs are the ultimate homemade Easter treat. They’re fun to make, easy to customize, and perfect for sharing with loved ones. Whether you’re filling baskets, hosting brunch, or simply craving a sweet and crunchy dessert, these festive eggs check every box.
With just a few ingredients and a little creativity, you can bring the magic of Easter into your kitchen and create memories that last long after the chocolate is gone.
If you loved this recipe, don’t forget to share it with your friends and family, and subscribe to the blog for more festive, feel-good treats made with love.
PrintButterfinger Chocolate Easter Eggs : Homemade Favorite
- Total Time: 45
Description
Easter just wouldn’t be the same without a basket full of sweet, chocolatey treats. If you’re looking for a festive homemade dessert that’s fun to make and even more fun to eat, these Butterfinger Chocolate Easter Eggs are guaranteed to be a hit.
Ingredients
Here’s what you’ll need:
- 1 cup natural creamy peanut butter (or almond butter)
- 1 tablespoon maple syrup (or honey)
- 1 ½ cups crushed cornflakes (gluten-free if needed)
- ½ teaspoon vanilla extract
- Pinch of sea salt
- 1 cup chocolate chips (dairy-free or dark chocolate if desired)
- 1 teaspoon coconut oil (for smoother melting)
Optional toppings:
- Crushed cornflakes
- Flaky sea salt
- Sprinkles or colored drizzle for decoration
Instructions
Step 1: Crush the cornflakes
Place the cornflakes in a zip-top bag and crush them with a rolling pin until finely crumbled, but not powdered. You want small pieces for that classic Butterfinger crunch.
Step 2: Mix the filling
In a large bowl, combine the peanut butter, maple syrup, vanilla extract, and a pinch of salt. Stir until smooth. Add the crushed cornflakes and mix until evenly combined. The mixture should be thick and moldable.
Step 3: Shape into eggs
Scoop out tablespoon-sized portions and shape each one into a small oval or egg shape using your hands. Place them on a parchment-lined baking sheet or plate. Once all the eggs are formed, place the tray in the freezer for 20–30 minutes until firm.
Step 4: Melt the chocolate
In a microwave-safe bowl or double boiler, melt the chocolate chips with coconut oil until smooth. If microwaving, heat in 30-second increments, stirring in between to avoid burning.
Step 5: Dip the eggs
Once the peanut butter eggs are firm, remove them from the freezer. Using a fork, dip each egg into the melted chocolate, allowing excess to drip off. Place the coated eggs back on the parchment paper.
Step 6: Decorate and chill
Before the chocolate sets, sprinkle with crushed cornflakes, sea salt, or colorful sprinkles for a festive touch. Refrigerate the eggs for 15–20 minutes, or until the chocolate is fully set.
Notes
Use natural peanut butter with no added sugar or oils. This ensures the best texture and flavor.
Don’t skip chilling the eggs before dipping. Cold eggs help the chocolate set faster and prevent melting during dipping.
Add coconut oil to your chocolate. It makes the melted chocolate smoother and easier to coat.
- Prep Time: 15
- Cook Time: 30
- Category: Dessert
- Cuisine: American
Nutrition
- Serving Size: 12 eggs
- Calories: 190
- Sugar: 2g
- Fat: 8g
- Carbohydrates: 18g
Keywords: Diy Easter Candy
