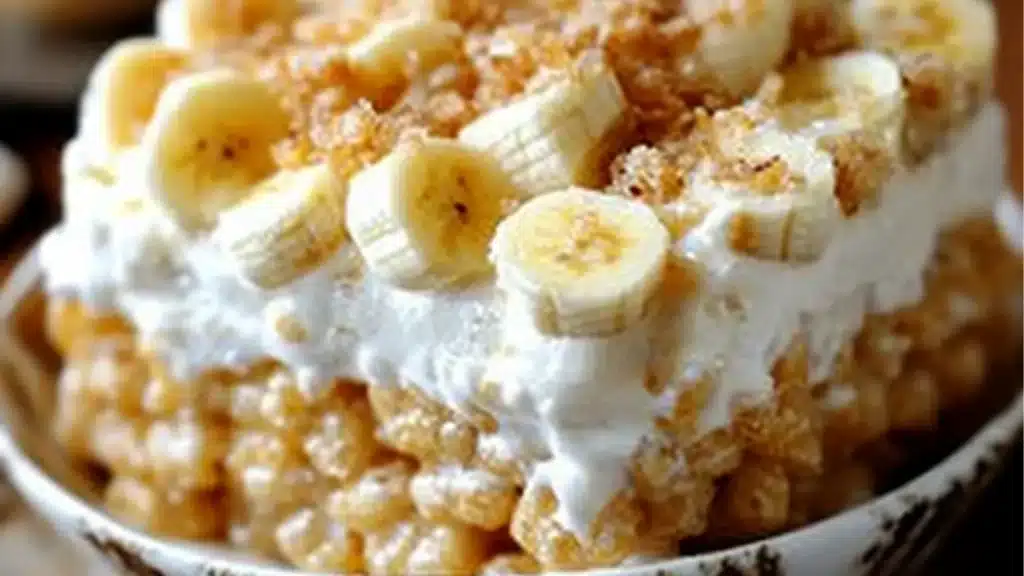
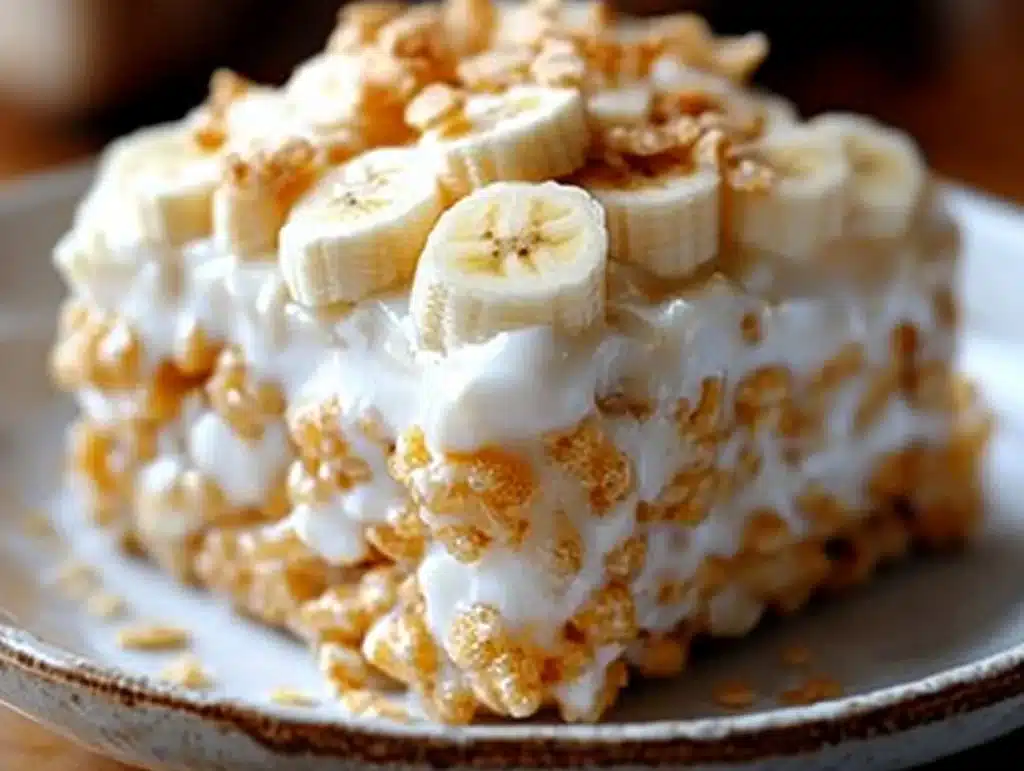
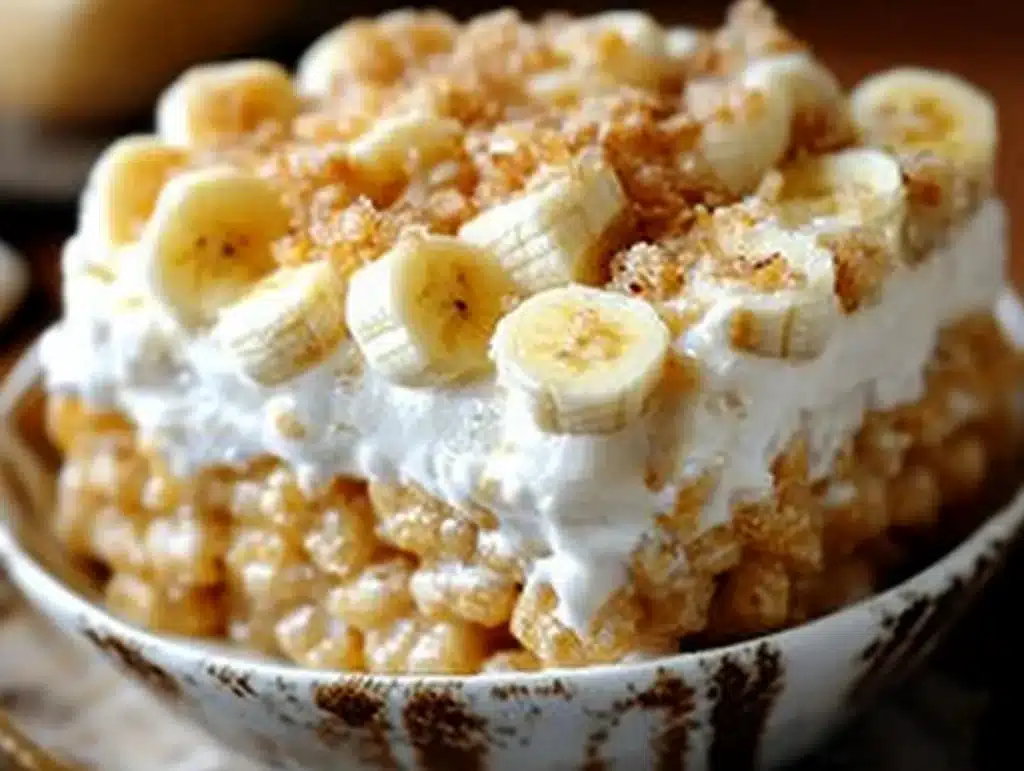
When two beloved desserts collide, magic happens—and that’s exactly what you get with these Banana Pudding Rice Krispies. This no-bake treat combines the gooey, marshmallowy nostalgia of classic Rice Krispie treats with the rich, creamy flavor of banana pudding. The result is a fun, family-friendly dessert that’s perfect for parties, potlucks, or a sweet weekday indulgence.
If you’re a fan of banana cream pie, banana pudding, or cereal-based desserts, this recipe hits all the right notes. It’s chewy, sweet, buttery, and full of banana flavor—with the satisfying crunch of cereal and the soft bite of vanilla wafers mixed in. Ready to make the ultimate banana pudding-inspired Rice Krispie treats? Let’s get baking—no oven required!
Table of Contents
What Are Banana Pudding Rice Krispies?
Banana Pudding Rice Krispies are a creative dessert mashup that brings together the best of two worlds: the classic marshmallow cereal treat and creamy banana pudding. This easy, no-bake dessert layers Rice Krispies with banana-flavored pudding mix, mini marshmallows, and chopped vanilla wafers for an irresistible texture and flavor.
Instead of a traditional pie crust or pudding cup, the banana pudding flavor is infused into each bite of the chewy cereal mixture—making it portable, sliceable, and perfect for feeding a crowd.
Why You’ll Love This Fun and Easy Dessert
There’s a reason this recipe is going viral—it’s a no-fuss dessert that tastes like something straight from your favorite bakery. Here’s why you’ll love it:
No oven required – Ideal for summer days or quick prep
Great for parties – Easy to slice and serve
Ready in minutes – Quick to mix, quicker to disappear
Banana flavor without browning bananas – No mushy texture, just flavor
Kid-approved – A huge hit with both kids and adults
Simple ingredients – Made from pantry staples
This is a recipe that delivers big banana pudding energy—with a crispy, chewy Rice Krispie base.
Ingredients for Banana Pudding Rice Krispie Treats
Here’s what you’ll need to make a full tray of this delicious, chewy banana treat:
½ cup (1 stick) unsalted butter
10 oz bag mini marshmallows (plus 1 cup extra for folding in)
1 small package (3.4 oz) instant banana pudding mix (dry)
6 cups Rice Krispies cereal
1½ cups chopped vanilla wafer cookies (like Nilla Wafers)
½ teaspoon vanilla extract (optional)
Pinch of salt
These ingredients are easy to find and even easier to combine. You can also scale up the recipe for larger gatherings.
Kitchen Tools You’ll Need
This is a true one-pot, no-bake dessert that comes together in minutes. Here’s what you’ll need:
Large pot or saucepan
Rubber spatula or wooden spoon
Measuring cups and spoons
9×13-inch baking dish
Nonstick cooking spray or butter (for greasing)
Optional: parchment paper for easy removal
No mixer, no oven—just simple tools and one big pot!
Step-by-Step Instructions: How to Make Banana Pudding Rice Krispies
Prep your pan. Grease a 9×13-inch baking dish with butter or nonstick spray. You can also line it with parchment paper for easy removal.
Melt the butter and marshmallows. In a large pot over medium heat, melt the butter. Once melted, add the bag of mini marshmallows (reserve 1 cup for later) and stir until fully melted and smooth.
Add the pudding mix. Remove from heat and immediately stir in the dry banana pudding mix and vanilla extract, if using. The heat will help dissolve the mix and distribute the flavor evenly.
Mix in the cereal and wafers. Quickly fold in the Rice Krispies cereal and chopped vanilla wafers. Stir until everything is evenly coated. Then fold in the reserved 1 cup of mini marshmallows for gooey pockets of marshmallow throughout.
Press into the pan. Transfer the mixture to your prepared pan. Gently press it down with a spatula or greased hands to spread it out evenly. Don’t pack too tightly, or the bars can become hard.
Cool and slice. Allow to cool completely at room temperature for at least 30 minutes before slicing into squares or bars. Store in an airtight container once cooled.
Expert Tips for Perfect Texture and Flavor
Use fresh marshmallows – Stale ones don’t melt as smoothly
Don’t overheat – Overcooking the marshmallows can lead to hard treats. Melt slowly over medium heat
Fold gently – Overmixing can crush the cereal and make the texture too dense
Add more wafers on top – Press extra chopped vanilla wafers on top before the treats set for extra crunch and visual appeal
Use parchment paper – For easy cleanup and slicing
These tricks will help your Banana Pudding Rice Krispies turn out perfectly chewy, soft, and flavorful every time.
Common Mistakes to Avoid
Using banana-flavored gelatin instead of pudding – This won’t thicken or flavor the mixture properly. Be sure to use instant banana pudding mix only
Packing the mixture too tightly in the pan – This makes the bars too hard. Press gently
Not greasing your hands or spatula – The mixture is sticky and hard to spread without it
Skipping the extra mini marshmallows – These add that gooey texture everyone loves
Avoiding these mistakes will ensure your treats are the star of any snack table.
Tasty Variations and Add-Ins for This Recipe
Want to add your own twist? Try one of these fun ideas:
Drizzle with white chocolate – For a sweet, bakery-style topping
Add banana chips – For extra banana crunch
Layer with whipped cream – For a pudding-inspired dessert bar
Mix in chopped dried bananas or mini chocolate chips
Top with whipped topping and serve cold like banana pudding bars
There are endless ways to customize these fun baking recipes to fit your flavor preferences or special occasions.
Serving Ideas and Presentation Tips
These treats are already pretty, but here’s how to level up their presentation:
Cut into small squares and stack them on a tiered tray
Add crushed wafers on top for a bakery-style crunch
Serve in cupcake liners or parchment wraps for easy grab-and-go
Garnish with banana slices or whipped cream for parties
Presentation makes a difference, especially if you’re bringing these to a gathering or gifting them.
How to Store and Freeze Rice Krispie Treats Properly
Keep in an airtight container at room temperature for up to 4 days. Avoid the fridge—it can make the treats too hard.
Wrap individual bars in wax paper and place in a freezer-safe bag or container. Freeze for up to 2 months. Thaw at room temperature before serving.
These treats are perfect for make-ahead dessert prep and stay chewy and delicious when stored properly.
Ideal Non-Alcoholic Pairings for Banana Pudding Rice Krispies
Balance the sweetness of this treat with these refreshing, family-friendly drinks:
Cold milk or banana milk
Vanilla almond milk
Iced herbal tea (like chamomile or vanilla rooibos)
Banana smoothie with oat milk
Coconut water with a splash of pineapple juice
These drinks enhance the tropical, sweet vibe of the banana pudding Rice Krispies without overpowering them.
Frequently Asked Questions About Banana Rice Krispie Treats
Can I use regular banana pudding (prepared) instead of the dry mix?
No, the dry mix is essential. It adds banana flavor without changing the texture of the treats.
Can I make these gluten-free?
Yes—just be sure to use certified gluten-free Rice Krispies and vanilla wafers.
Do I need to refrigerate them?
No, they’re best stored at room temperature to stay soft and chewy.
Can I use flavored marshmallows?
You can, but stick with plain mini marshmallows to let the banana pudding flavor shine.
Can I make them ahead of time for a party?
Absolutely! Make them up to 2 days in advance and store in an airtight container.
Final Thoughts + Call to Action
These Banana Pudding Rice Krispies are the ultimate no-bake dessert mashup—chewy, crispy, sweet, and packed with nostalgic flavor. Whether you’re hosting a birthday party, baking with the kids, or just want a treat that’s different from the usual, this recipe delivers in every way.
PrintBanana Pudding Rice Krispies : Fun & Flavorful Twist
- Total Time: 45
Description
When two beloved desserts collide, magic happens—and that’s exactly what you get with these Banana Pudding Rice Krispies.
Ingredients
½ cup (1 stick) unsalted butter
10 oz bag mini marshmallows (plus 1 cup extra for folding in)
1 small package (3.4 oz) instant banana pudding mix (dry)
6 cups Rice Krispies cereal
1½ cups chopped vanilla wafer cookies (like Nilla Wafers)
½ teaspoon vanilla extract (optional)
Pinch of salt
Instructions
Prep your pan. Grease a 9×13-inch baking dish with butter or nonstick spray. You can also line it with parchment paper for easy removal.
Melt the butter and marshmallows. In a large pot over medium heat, melt the butter. Once melted, add the bag of mini marshmallows (reserve 1 cup for later) and stir until fully melted and smooth.
Add the pudding mix. Remove from heat and immediately stir in the dry banana pudding mix and vanilla extract, if using. The heat will help dissolve the mix and distribute the flavor evenly.
Mix in the cereal and wafers. Quickly fold in the Rice Krispies cereal and chopped vanilla wafers. Stir until everything is evenly coated. Then fold in the reserved 1 cup of mini marshmallows for gooey pockets of marshmallow throughout.
Press into the pan. Transfer the mixture to your prepared pan. Gently press it down with a spatula or greased hands to spread it out evenly. Don’t pack too tightly, or the bars can become hard.
Cool and slice. Allow to cool completely at room temperature for at least 30 minutes before slicing into squares or bars. Store in an airtight container once cooled.
Notes
Use fresh marshmallows – Stale ones don’t melt as smoothly
Don’t overheat – Overcooking the marshmallows can lead to hard treats. Melt slowly over medium heat
Fold gently – Overmixing can crush the cereal and make the texture too dense
Add more wafers on top – Press extra chopped vanilla wafers on top before the treats set for extra crunch and visual appeal
- Prep Time: 10
- Cook Time: 5
- Category: Dessert
- Cuisine: American
Nutrition
- Serving Size: 12–16 squares
- Calories: 190
- Sugar: 1g
- Fat: 5g
- Carbohydrates: 18g
- Fiber: 1g
- Protein: 2g
Keywords: Rice Krispies Treats Recipes
